Those who read books know how irritating it is to forget what was the last page we read. If you see bookmarks as the hero who comes and saves the day by keeping track of what page you read, these DIY projects are for you.
Below you will find a list of ten creative bookmarks, and most of them are really simple to make. There’s something from everyone’s taste: from cute foxy bookmarks to vintage and personalized. You only need some time and imagination to make a cute bookmark. Check out the ones presented below and get your inspiration!
1. Beads Bookmark
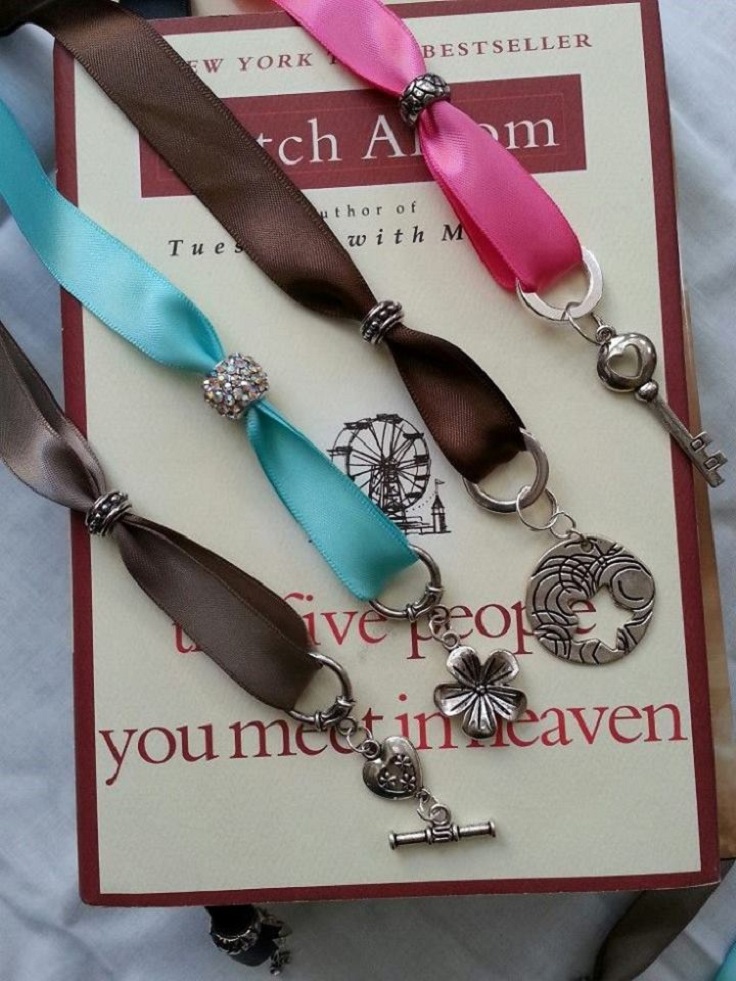
Beads can always come in hand! They are useful not only for jewelry but for bookmarks as well. They can be the perfect decoration and make a ribbon look cuter. You need ribbons in different colors, beads, scissors, and some sewing skills for this bookmark. Sew ends so the ribbon is closed, and add a bead in the middle. Before you sew, you can also add another embellishment if you want. It’s simple and cheap, and it’s always a good gift idea for a reader.
2. Harry Potter Bookmarks
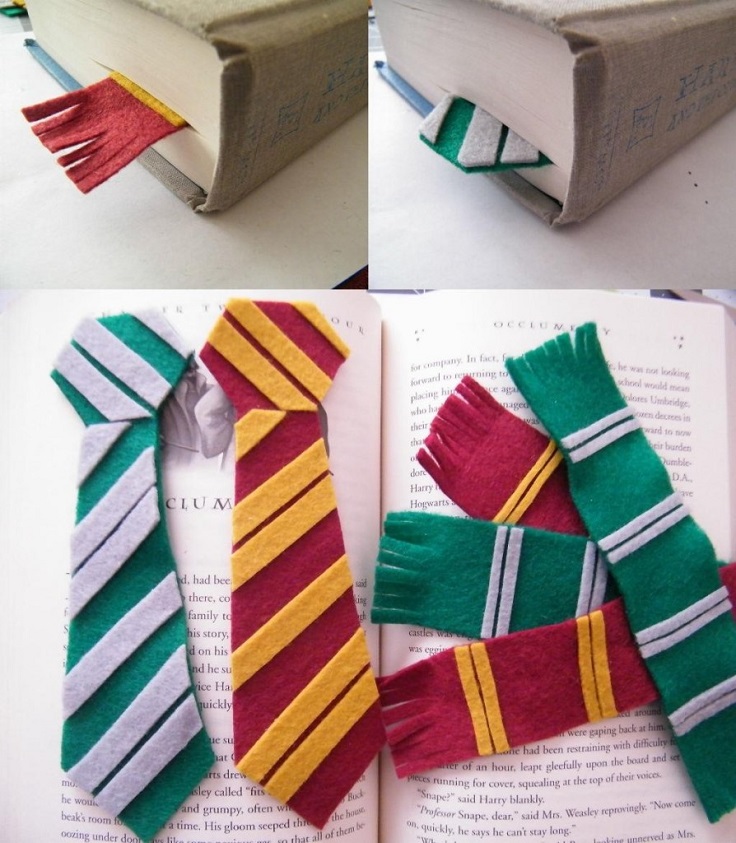
There’s no way that a Harry Potter fan will say “no” to this bookmark. For the scarves project, you need Hogwarts House colors felt, such as dark red or golden, felt/craft glue, ruler, scissors, paper, pen, and cardboard, which is optional. First thing, measure, and cut. Fold across at about ¾ inch on both ends. Cut the strips and place them on the scarves, but before applying glue, so that you can put them in the right spot and distance, then you can glue them. Making the ties is easy as well, and the link will lead you to both tutorials.
3. Personalized Bookmarks
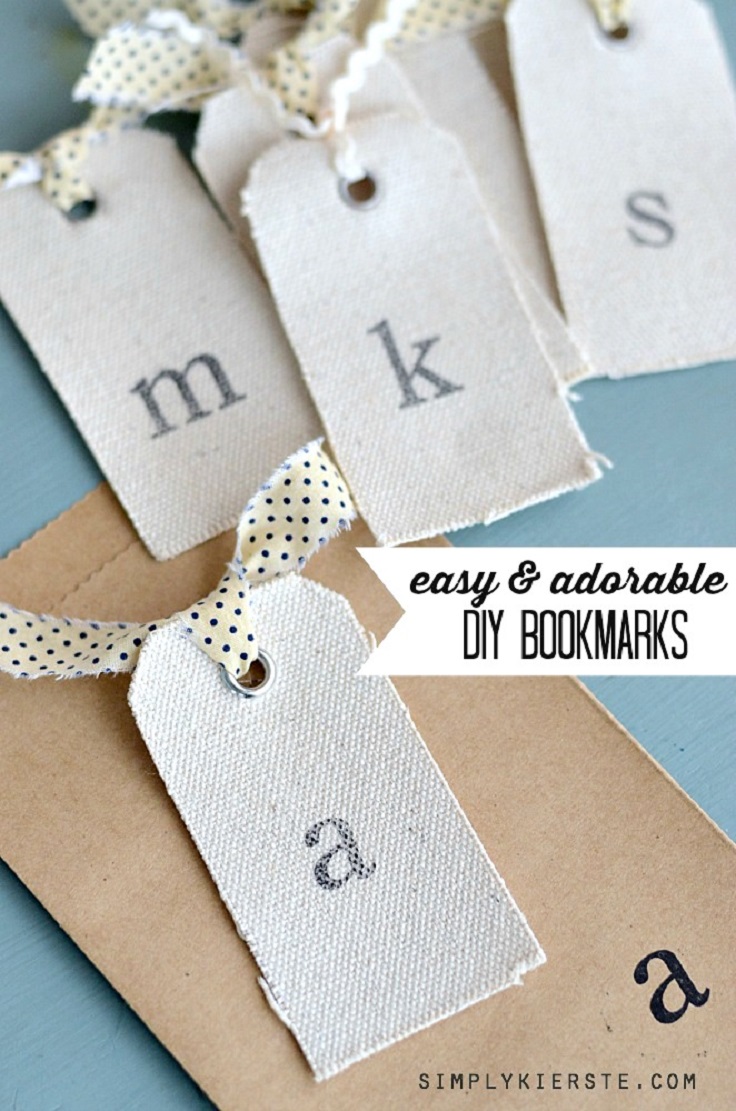
Four supplies are needed for these amazing personalized letter bookmarks: canvas tags, ink, stamp, and ribbon. It would be best if you find canvas tags similar or the same as the ones used in the tutorial. Tie the ribbon through the grommet and secure it in a knot. Use the stamp and the ink to add embellishment. To make the bookmarks personalized, you can use the ink to add the first letter or the whole name. If you want to give the bookmarks as a gift, you can just wrap them in a gift sack and use washi tape to seal them.
4. Foxy Bookmarks
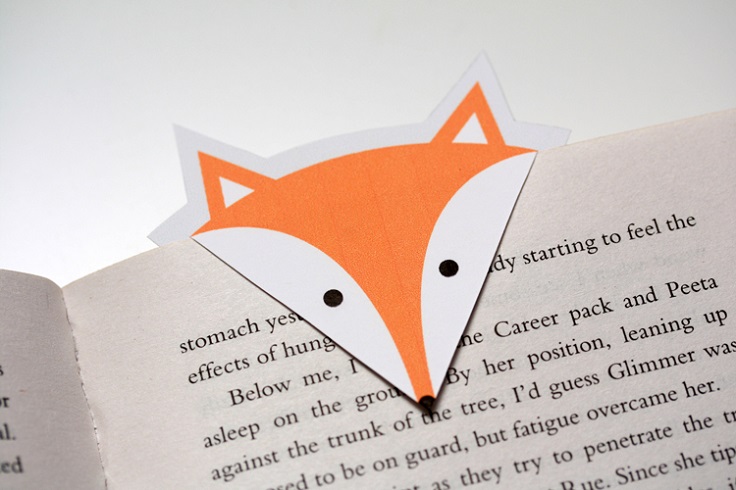
via loonies.dk
This is the easiest and the cheapest option on this list. The link will lead you to the site which offers free print templates of this small, cute foxy bookmark. You just need to print them on card stock and, by using an x – acto knife, cut out the borders in the shape of the fox. That’s it! It’s really simple, and in only a few steps, you have the cutest foxy bookmark. Print some for your friends and family, too; they sure are going to love it.
5. Scrap Paper Bookmark
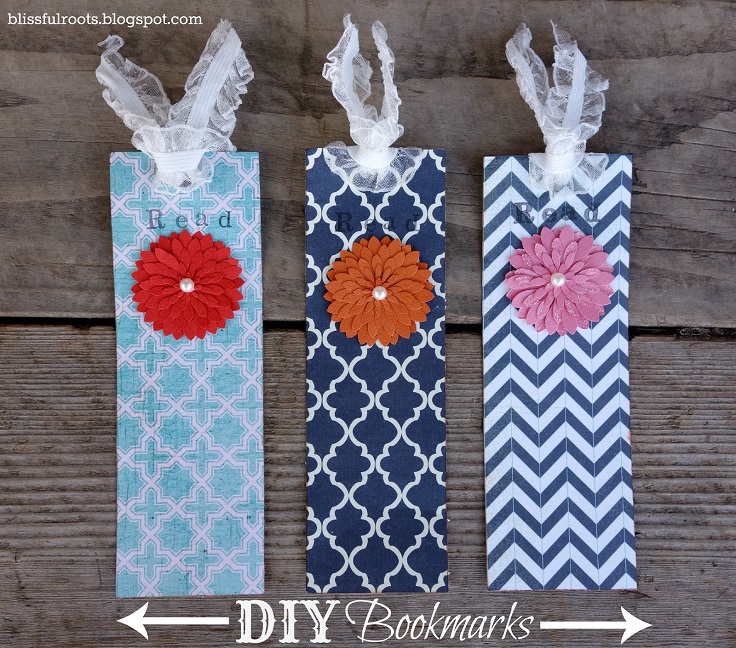
Reading would be much more fun if you know you have an amazing bookmark to show you what you read last. Buy a colorful card stock and stamp the word “read” on top. You can stamp other words if you want to. Apply a layer of Mod Podge on one side and after it’s dried, apply it on the other. Make a hole on top and tie a ribbon through it. The next thing to do is adding embellishment, which in this project are flowers. Your choice!
6. Duct Tape Bookmarks
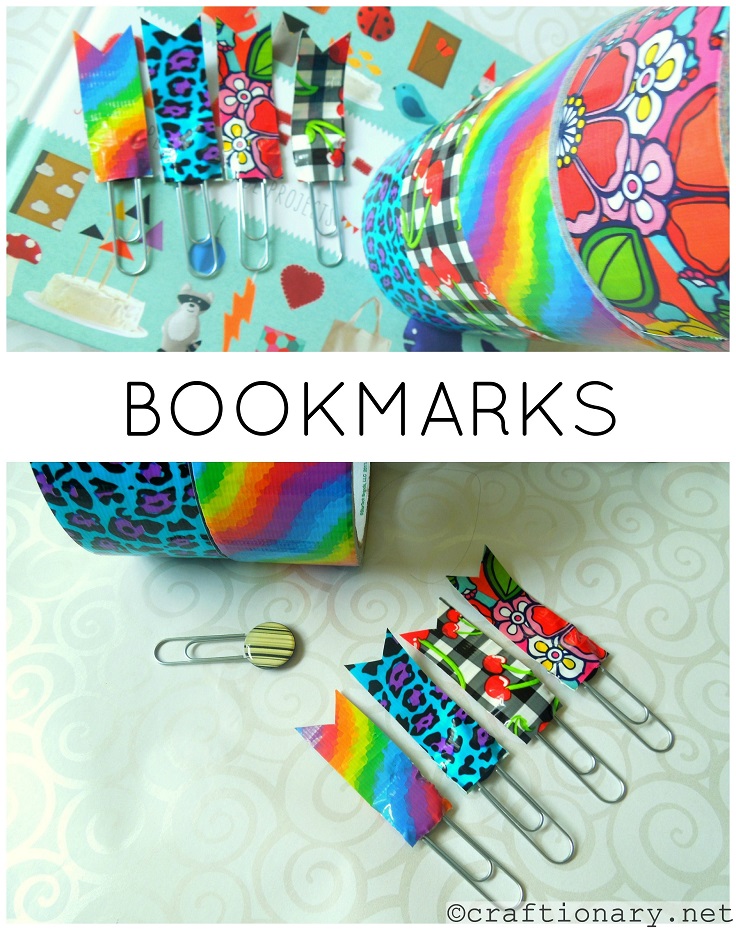
via craftionary.net
This one is so easy that you can make some for all your friends and family too! These bookmarks are small but very colorful and cute. All you need is duct tape, a paper clip, and scissors. Add some of the duct tapes to the clip and use the scissors to shape it in the form you want. It’s that simple!
7. Hand Stitched Bookmarks
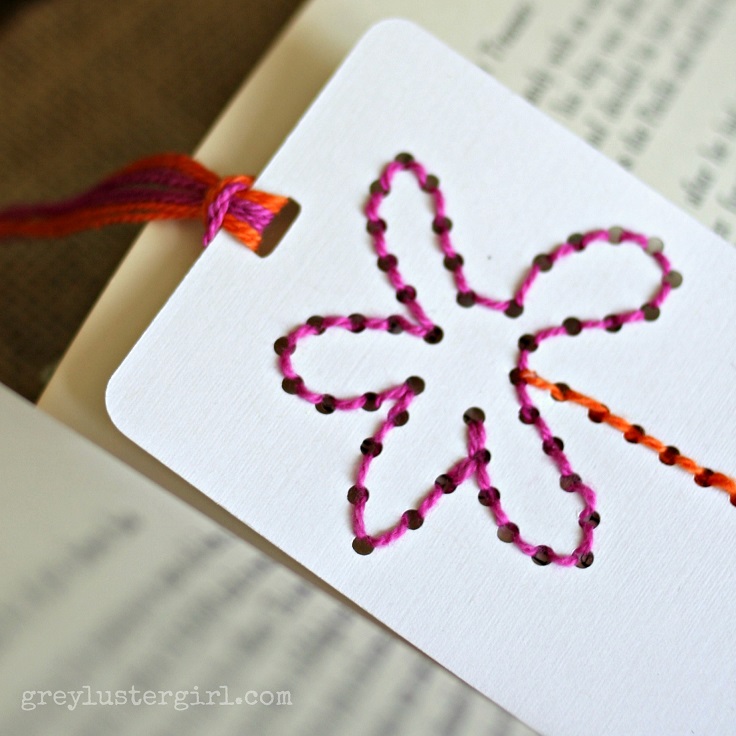
via greylustergirl.com
This type of bookmark will require some time and skills, but don’t let that stop you from doing them! On card stock, make small holes by using a needle and poke the image you want to have on the card stock. Start with wrapping the end of the embroidery floss in tape and start with the stem or the flower. The next step is to start stitching through the holes, use the two ends to and tie the loose threads in a knot. Switch colors for the stem and tie a little tassel to the top of the bookmark. Take the tail of the tassel and put it through the loop, and pull carefully to secure. For more detailed instructions, click on the link.
8. Origami Bookmark
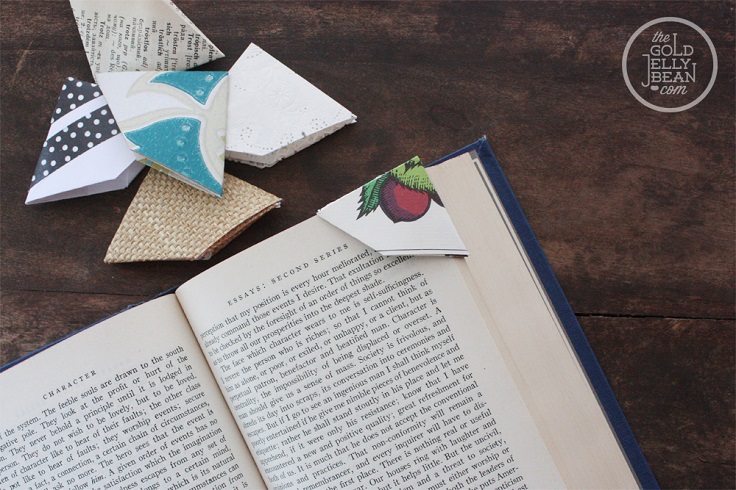
There’s always something creative to do with origami. This time we use origami to make a cute corner bookmark. You need three materials for this: paper, ruler, and scissors. Cut a square of paper, fold the paper in half, crease and then unfold it. Make small creases in the upper left and lower right sides and then fold the square to make two creases. Fold over all four exposed corners and wrap them around the paper’s edges. Unfold above corners and then refold three corners and tuck into the middle. Locate the two points indicated with white circles and fold the paper in half so that it matches them. Fold and tuck in the final corner to form a single pocket, and you are ready to go!
9. Washi Tape Bookmarks
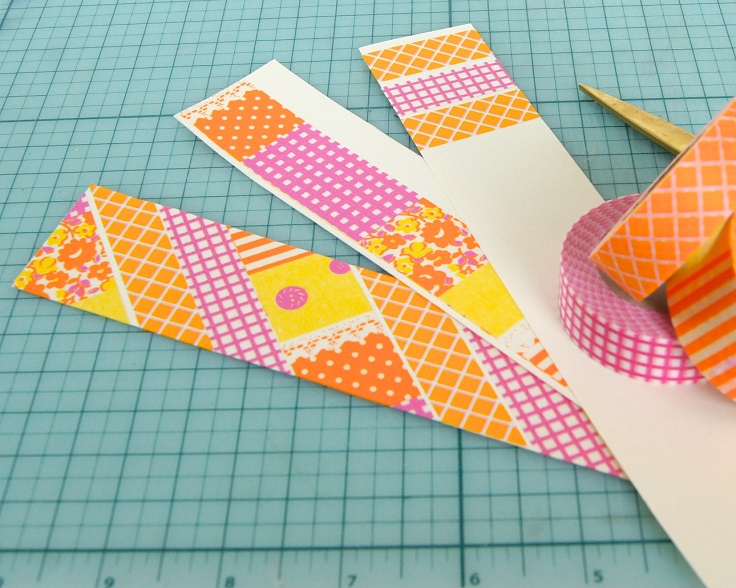
via omiyageblogs.ca
Washi tape is a really great material for many DIY projects. It’s a tape, and it’s a really lovely one with all those patterns and colors. You can make a really cute bookmark with this tape with Japanese origins. Choose a washi tape with the desired pattern and add it to a piece of card stock. Add it on both sides, and then use the scissors to cut the washi tape around the card stock. It’s really easy making this bookmark and even more cute to have it inside your book!
10. Fabric Bookmarks
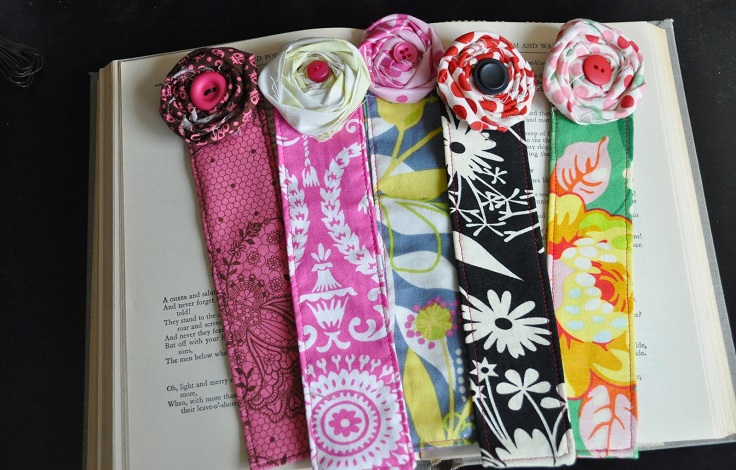
via littlebirdiesecrets.blogspot.com
Aren’t these the loveliest bookmarks ever? They look so nice that you can even use them as a gift. In order to make them, you need fabric cut to 4″ x 8″, fusible interfacing cut to 3.75″ x 7.75″, fabric strip for flower cut to about 1.25″ x 42″, Coordinating thread and sewing machine, fabric glue, coordinating button, needle, and thread. Iron fusible interfacing to wrong side of the fabric piece and fold it in half width-wise. The next step is sewing across the bottom edge and upside edge. Clip corners, turn inside out, and gently push out corners. Topstitch around all four sides. You can make a fabric rosette and glue it on top of the bookmarks.


