Do you want a super fruit that is super easy to grow? Aronia berries are exactly what you are looking for. Also known as chokeberry, this small shrub is native to Eastern North America that offers acidic, delicious edible berries.
They are extremely healthy and very decorative, which makes them a great addition to any garden. Of course, they’ve become so popular mostly because of their health benefits. Aronia’s edible berries have high levels of vitamins and antioxidants as well as phytonutrients.
They are true little powerhouses that lower blood pressure, cleanse the toxins, and strengthen blood vessels’ walls. The fruits are a bit bitter until they are ripe but will sweeten up if you freeze them. You can enjoy the Aronia as a berry for juicing, baking, and for jellies.
As we said, Aronia berries are super easy to grow to require minimum conditions and care. We are going to help you learn how to grow them in your garden with 10 easy tips. You will be enjoying fresh Aronia berries in just a year after purchasing your plant!
1. Purchasing
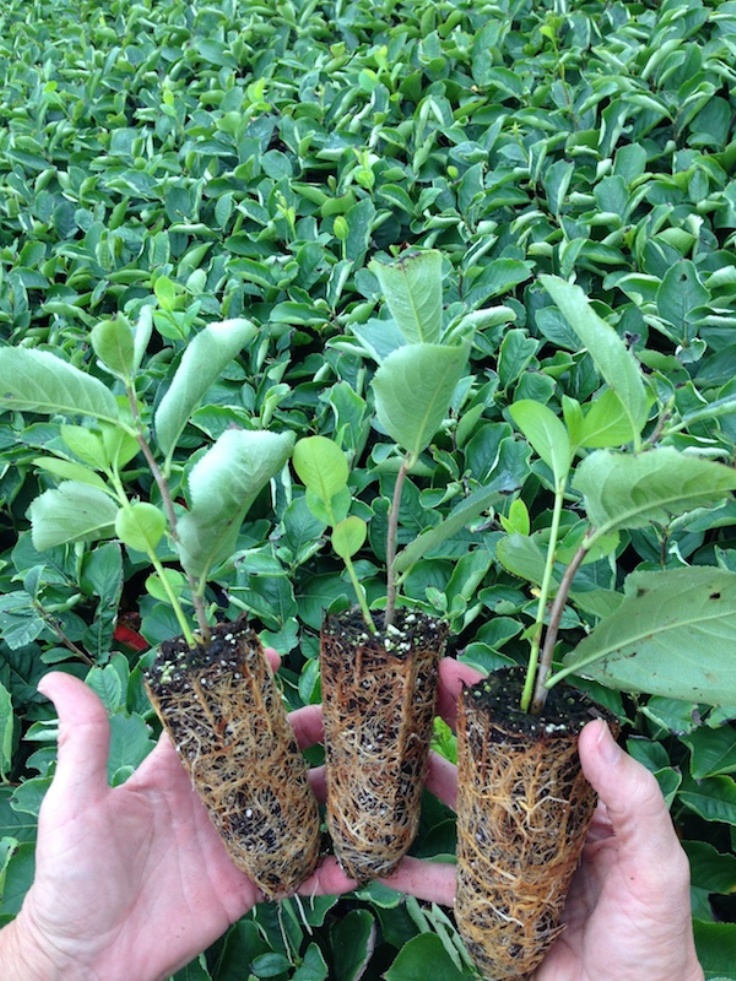
If you want to grow your own Aronia berries, you should start by purchasing a high-quality bush. This means buying the plant from a reputable nursery. Look for a bush that is at least two years old, as this is the age needed for a successful transplant. If you buy a two-year-old bush, you can expect berries around the third year. Also, make sure you ask about the sun requirements of the Aronia species you are getting, as some of them should never be grown in full sun.
2. Acclimatization
via plantpeddler.com
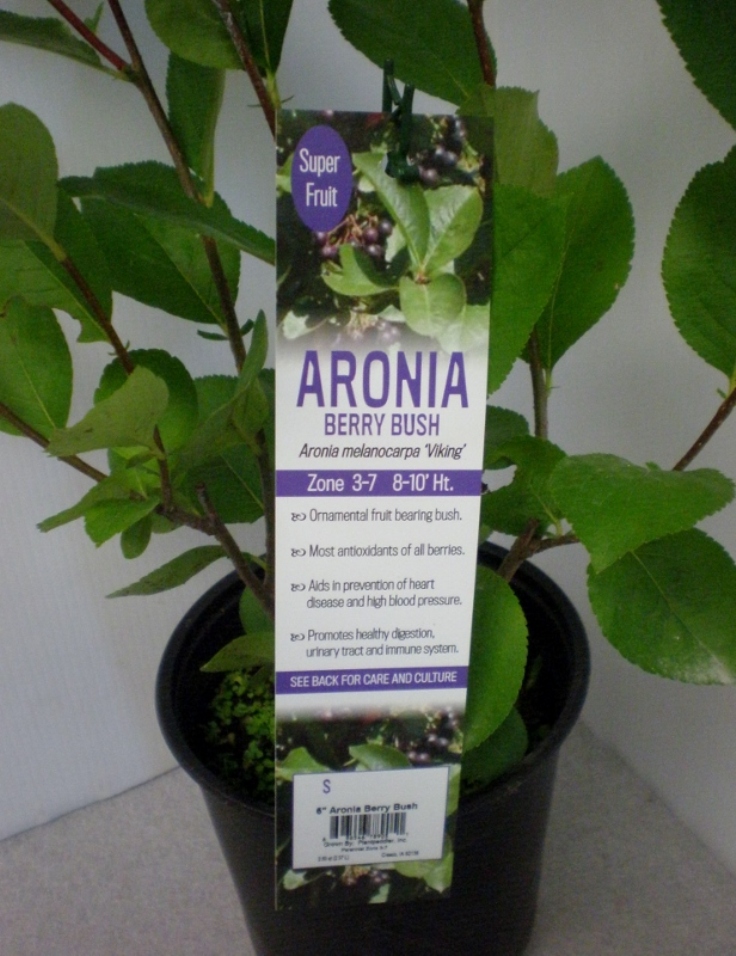
Plants that are grown in greenhouses need acclimatization before being planted outside. Start by placing your plant in a sheltered, shady spot for 3-4 hours a day. Increase outside by 1-2 hours each day. Bring the plant inside during the night. Make sure you water it regularly and spray the leaves with water from time to time. After a couple of days, start placing your plant in a sunny location in the mornings and taking it back to the shade in the afternoons. In 7 to 10 days, your plant is ready to be planted outside!
3. Planting
via pinterest.com
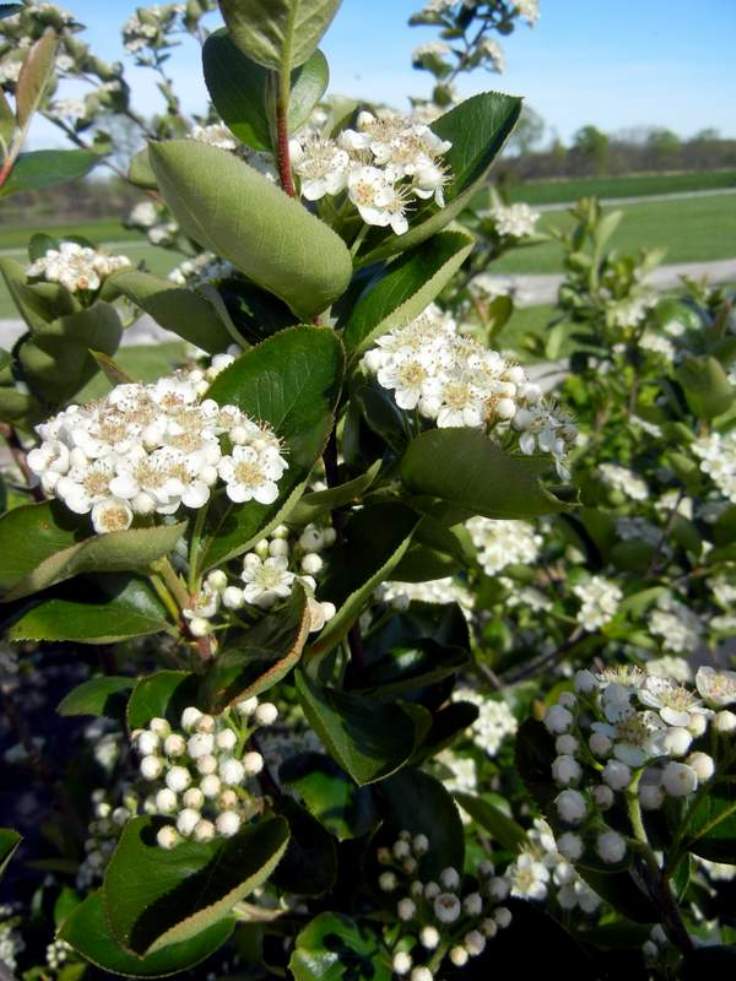
Now that your Aronia bush is acclimated, it is time to choose a location and plant it. A sunny location will be perfect, although the partial sun is also tolerated. Aronia berries will do great in any kind of soil, but good drainage is preferable. For best results, add some compost to the soil before planting your bush.
4. Watering
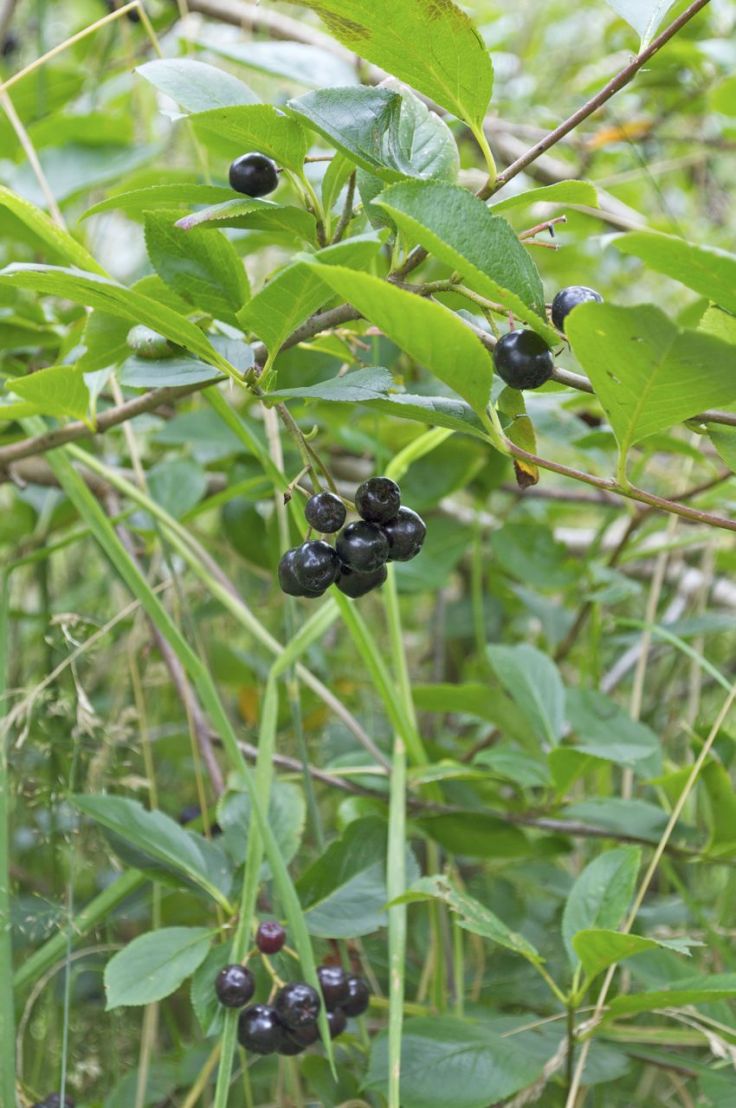
Wet winters and dry summer are not a problem for these resistant berries. However, it is preferable to keep the soil moist, at least for the first couple of years. Water your plant once or twice per week for best results. Once the plant is well established, it will need less watering as it is relatively drought tolerant.
5. Fertilizing
via photobucket.com
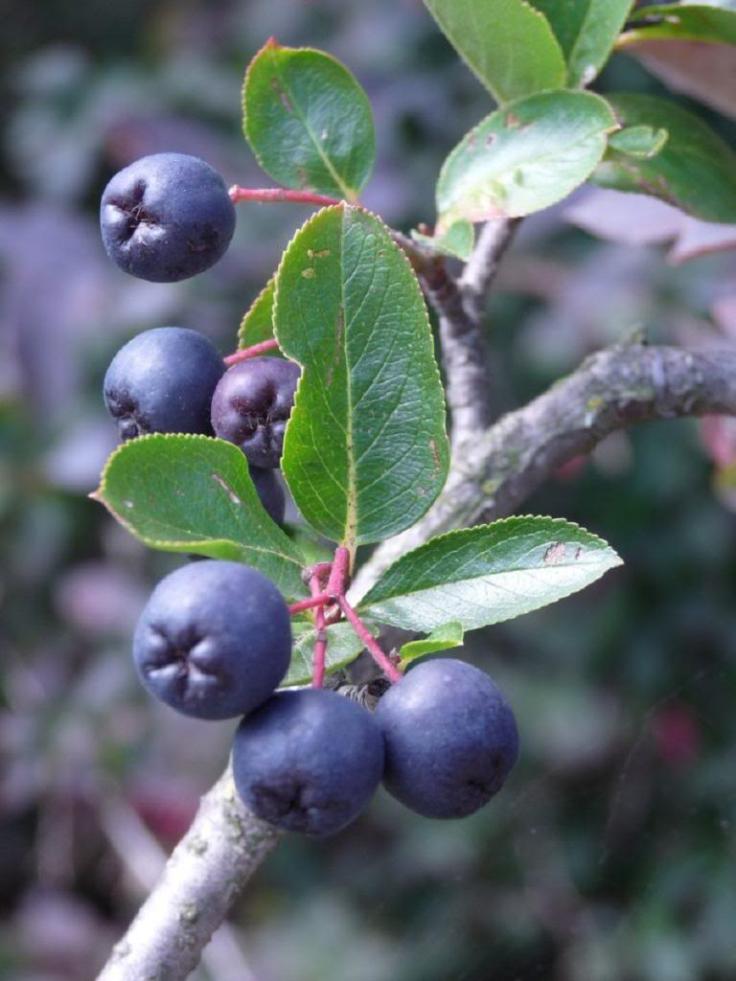
By increasing the amount of organic matter in the soil, you will obtain a healthier plant that will produce more berries. Add your own compost, leaves, grass clippings, or manure to the soil and mix it in well. 2% to 5% of organic matter in the soil is ideal. It is also a good idea to spread around 4 inches of organic matter around the plant to retain moisture and save water.
6. Mulching
via borganic.net
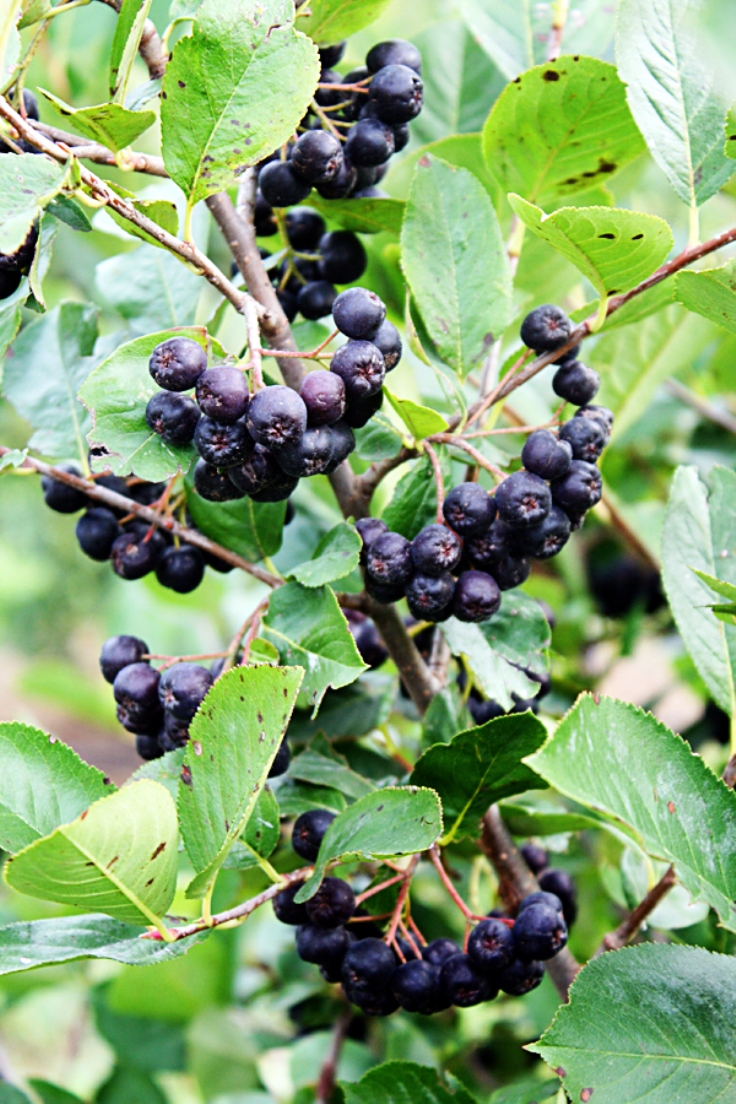
Mulching around your Aronia shrubs is a smart thing to do as it saves water, keeps plants cool, reduces evaporation, provides nourishment, and helps control weeds. Using just 4 inches of organic mulch will save 750 gallons of water each month! The conclusion is that mulch is definitely a must for growing a healthy plant.
7. Pruning
via idiotskeepingbees.wordpress.com
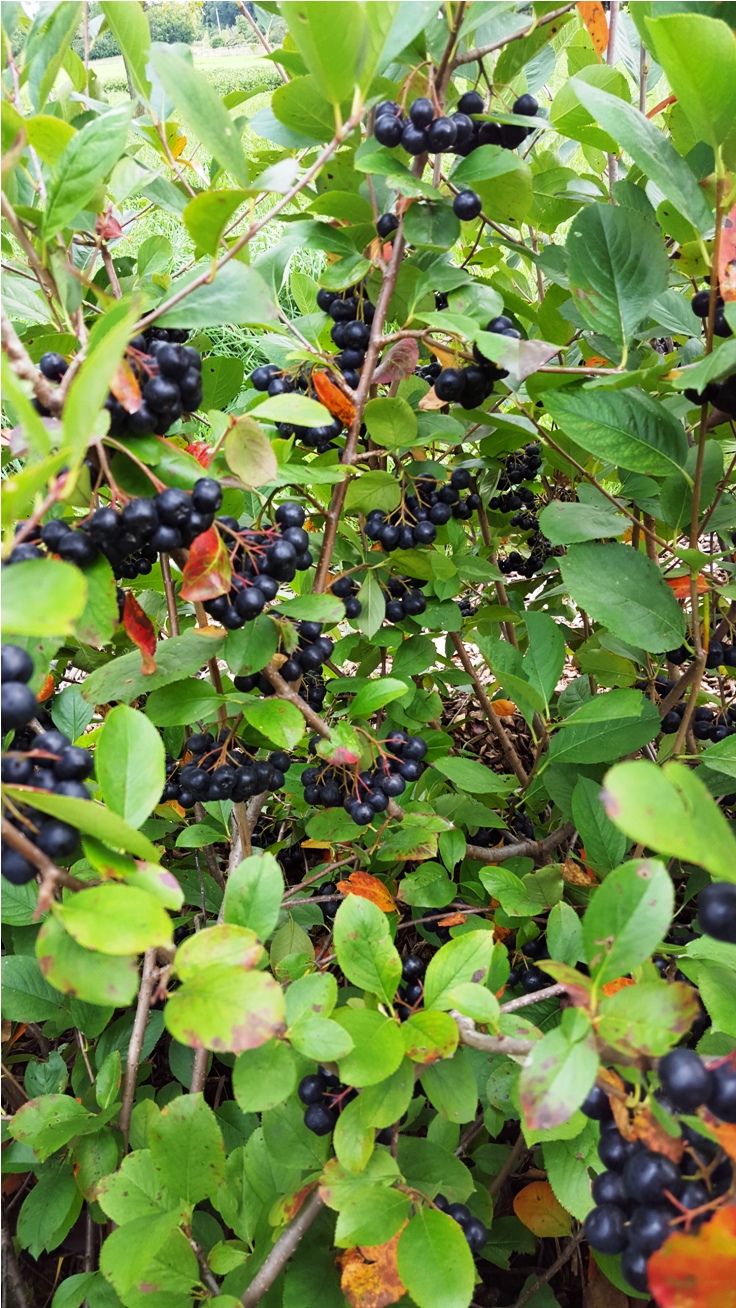
Chokeberries should be pruned every year by removing canes or stems greater than one inch in diameter. This will keep the plants at a manageable size and promote new growth and a bushier form. The best time for pruning your Aronia shrubs is late in their dormant season.
8. Pests and other problems
via freshdesignpedia.com
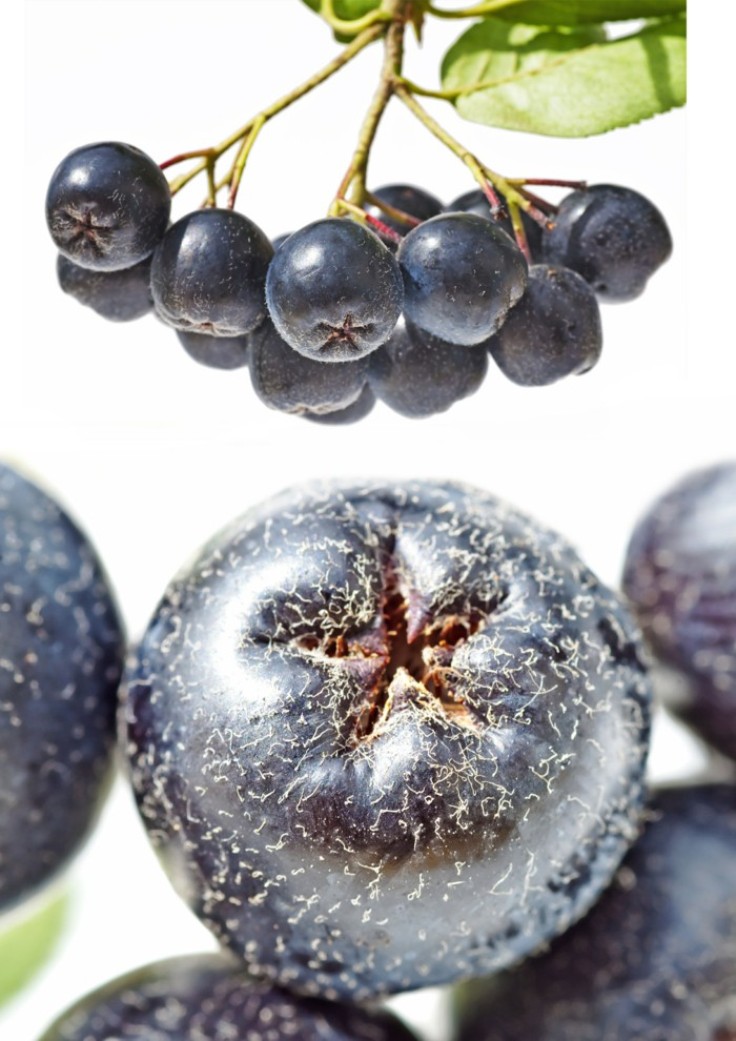
As we said, Aronia berries are super easy to grow. With them, you don’t have to worry about pests. The only problem you might face is leaf spot or rust, which is purely cosmetic. To avoid them, water your Aronia berry bush at the ground level rather than drenching the foliage with water.
9. Harvesting
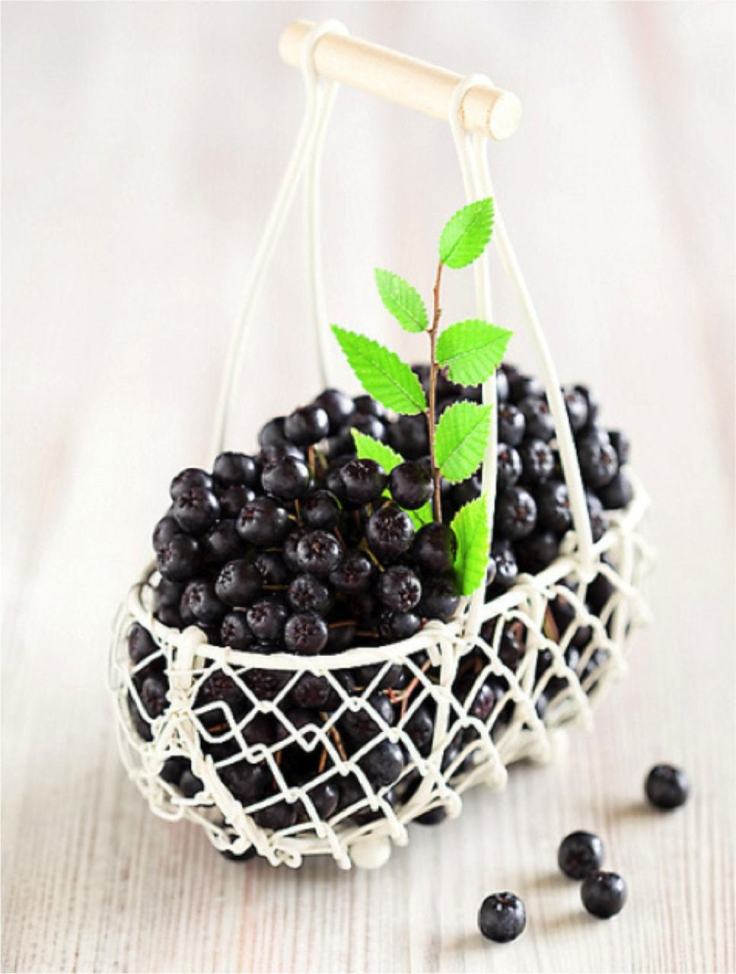
The flowers of Aronia fruit are bisexual, which means they are self-fertile. The berries are black-violet and firm, with a diameter of 1/3 inch each. They are produced in clusters of 8 to 15 berries. Mid-September is when the fruit ripens, so you can start harvesting them and continue so in the next six weeks. The berries can be harvested by hand or with a mechanical harvester. You can consume the berries raw or processed. If you’d like them to taste sweeter, simply freeze them!
10. Best varieties
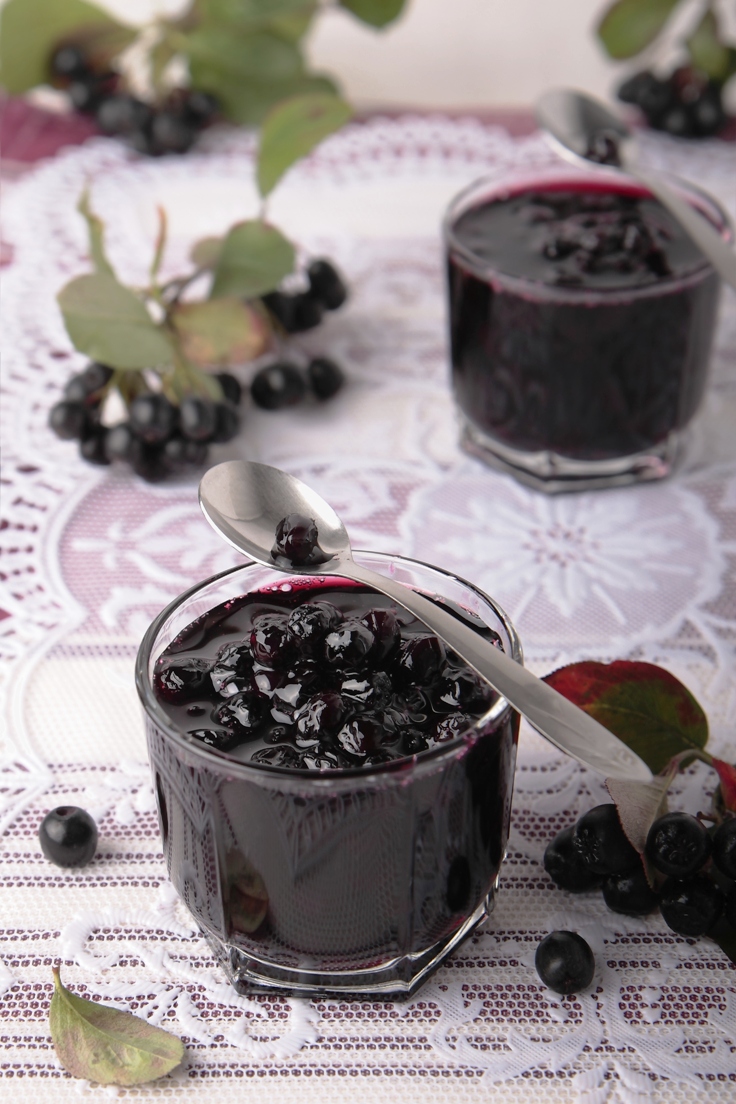
If you want big and high-quality berries, you might try the Russian cultivar called “Viking.” It grows 6-8 feet, so if you want a smaller bush, then “Autumn Magic” is a good choice. This variety is an ornamental bush that grows up to 4 feet. It is also very decorative with its white flowers in late spring and red and orange foliage late into the fall season. Other popular cultivars are Nero, Rubina, Hugin, Galicjanka, Hakkija, Ahonen, Kurkumacki, Serina, and Morton.

