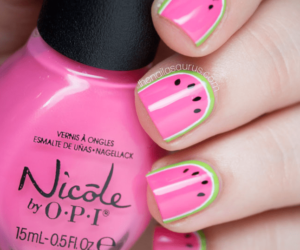
You don’t want to spend money in beauty salons, but you want to treat your feet with a beautiful pedicure? We give you the solution: simple 10 steps that show you how to be your own cosmetician. Make your feet glow and feet regenerated and fix your toenails, so you won’t be embarrassed to take off your heels or socks.
Repeat this process once a month, and feel like your walking on air. Relieve your feet, we promise that you will feel much better and you will make your feet healthier and breathe again.
So, learn this easy and cheap process, and we assure you that your feet will thank you for that!
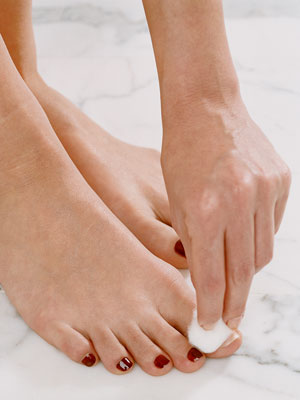
1. Remove The Toenail Polish
Before starting with your home pedicure it is essential to remove any nail varnish or nail strengthen you have applied previously. You should never paint over discolored nails, even if it is the same colored varnish. It is totally ok to remove it right before starting your pedicure, no need to be doing it in advance, as long as you do it. This way you end with a fresh and smooth surface. Best remove it with a cotton ball and acetone polish remover.
2. Soak The Feet For 10 Minutes

via boldsky.com
Those who have done their pedicure at home, know how essential this step is. Soaking your feet helps you hydrate and softens your skin and your cuticles, relieve pain from standing long hours or wearing uncomfortable shoes. The warm water will help you remove the dead skin, leaving you with clean, smooth, and soft feet. If you don’t have time to soak them before a pedicure, alternate this step with taking a long warm shower.
3. Dry With Clean Towel
via wikihow.com
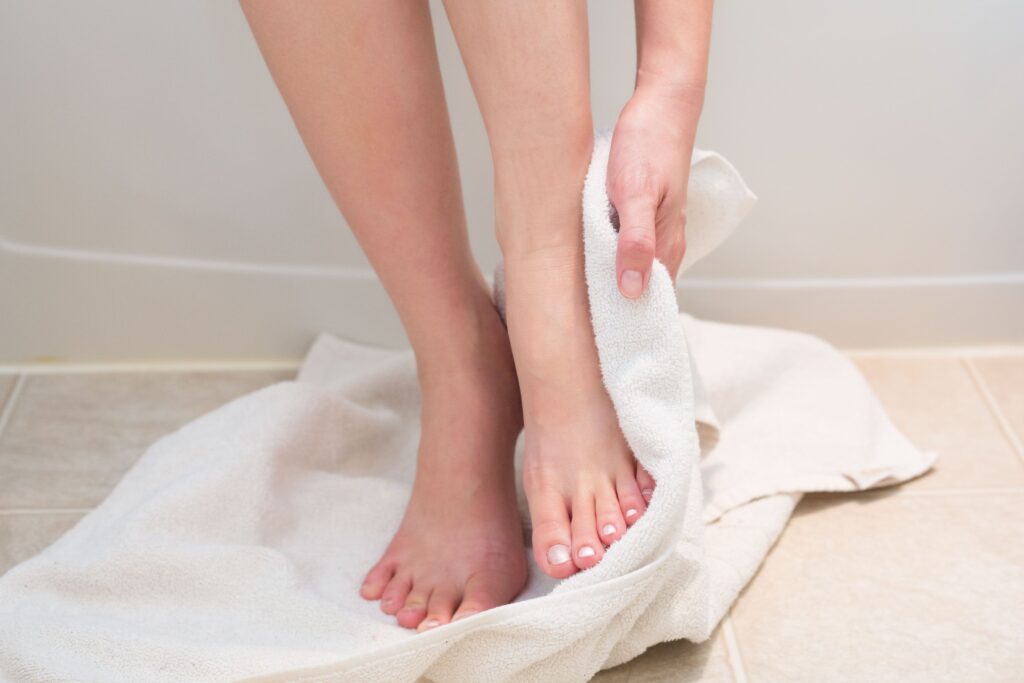
Another crucial step when doing your pedicure at home is to make sure you dried your feet after soaking them. The water that has left between the toes might promote the growth of fungi and bacteria, therefore it is very important to dry them properly. Best use a cotton clean towel and pat your feet to dry and try not rubbing them much. You should not skip this part to prevent infections, especially between toes.
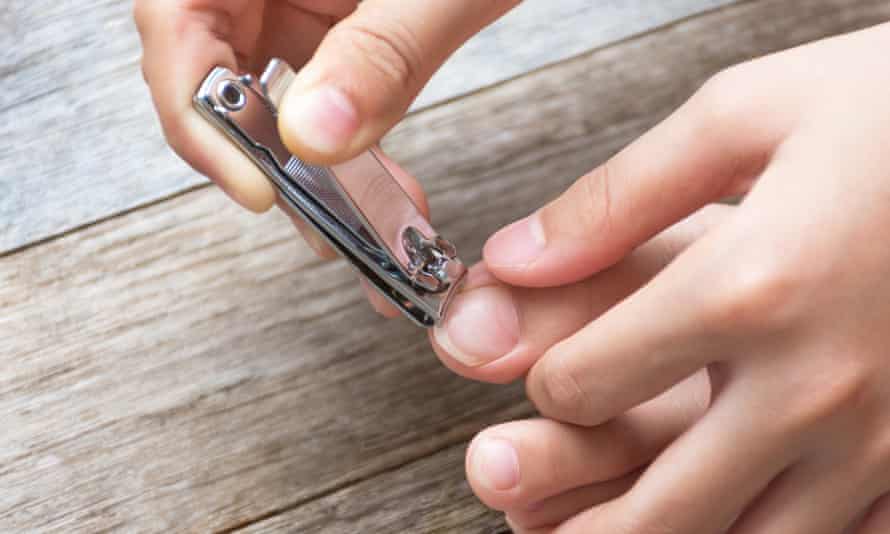
4. Trim, File, And Clean Toenails From Dirt

via theguardian.com
Once you finished soaking and cleaning your feet it’s time to focus on the nails. First things first, the nails should be trimmed and cut into the nail shape you want. The best to do that is with a toenail clipper. Try not to cut the nails too deep cause it might lead to you having an ingrown toenail, and or cut onto your skin. Cutting just over the toe is the right way. Leaving the toenails without trimming is not good too; it will accumulate all the dirt underneath. Properly trimmed nails will give you the best pedicure.
5. Remove Cuticles
via leaf.tv
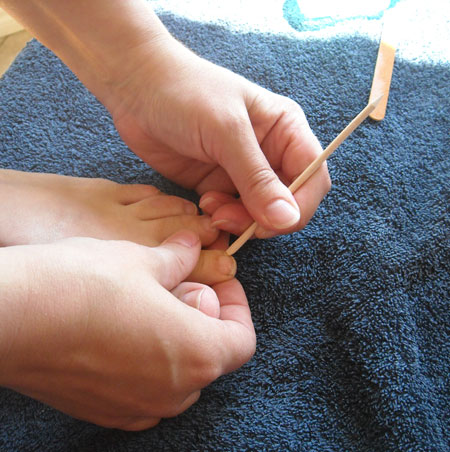
In this step better apply cuticle removing product before starting pushing and trimming them. Already soaking the toes in water helped the cuticles get softer, but adding the remover it will make the whole process much easier. Massage the product gently on the toenail area, then using a cuticle pusher or an orange stick push the cuticles back towards the nail bed. Clip the excess skin with a clean cuticle trimmer to get neath nails. Once done do not forget to clean the product away.
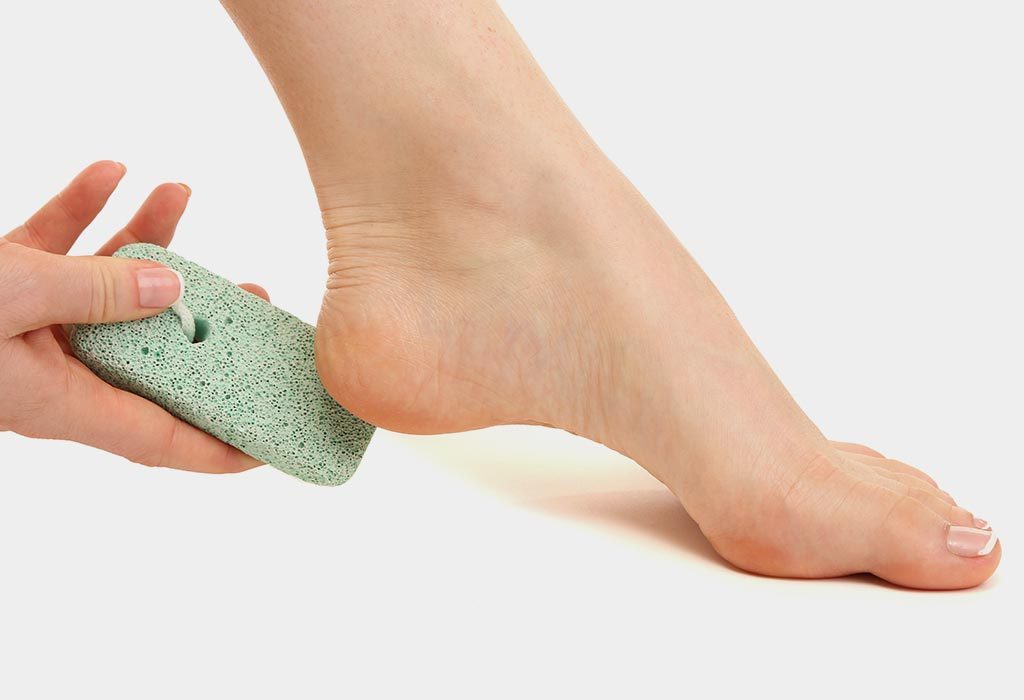
6. Scrube Heels With Pumice Stone
Pumice stone is an effective tool for cleansing the skin from the heels, and for removing calluses, corns, as well as dry, hard, rough, and dead skin. The calluses are a thickened skin formed with repeated friction and pressure. In theory, you can use this stone daily but you have to know how to use it. Removing too much skin can make you bleed and increase the risk of infections. Used with caution these stones are perfectly safe. There is nothing better than having your feet with clean calluses, soft, and with a fresh pedicure.
7. Put Lemon On Yellow Nails
via footfiles.com
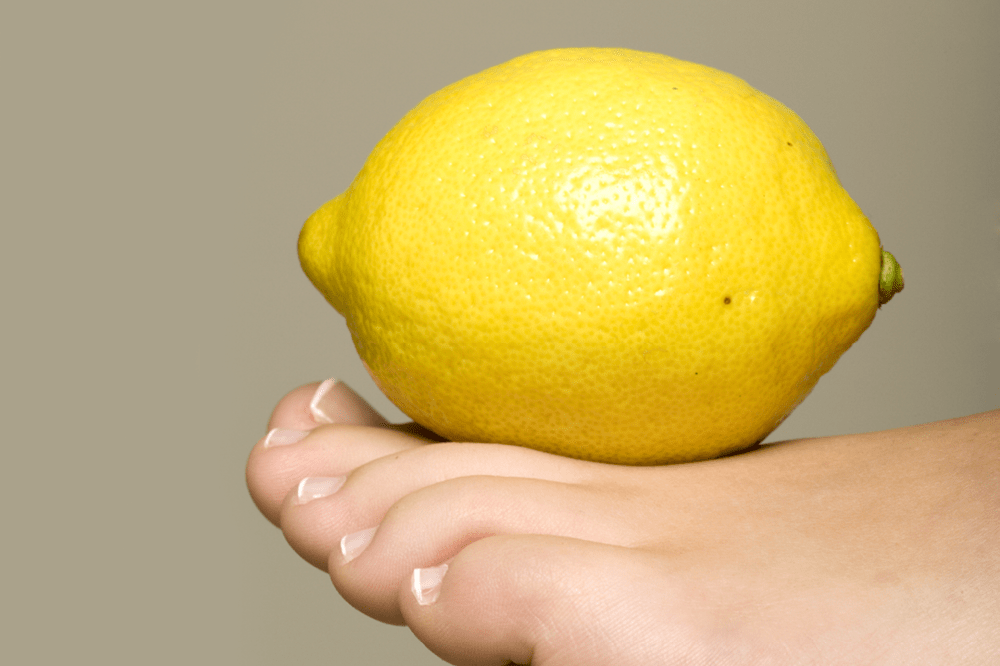
The cause of yellow nails is from using polish and from smoking. The nail polish can turn the nails yellow over time, as well as the tar and the nicotine found in cigarettes. Darker nail polishes can significantly change the hues of your nails. Best to prevent that is by applying a base coat first. Once you determinate the cause of discolorating, try using some natural products to reduce like fresh lemon slices.
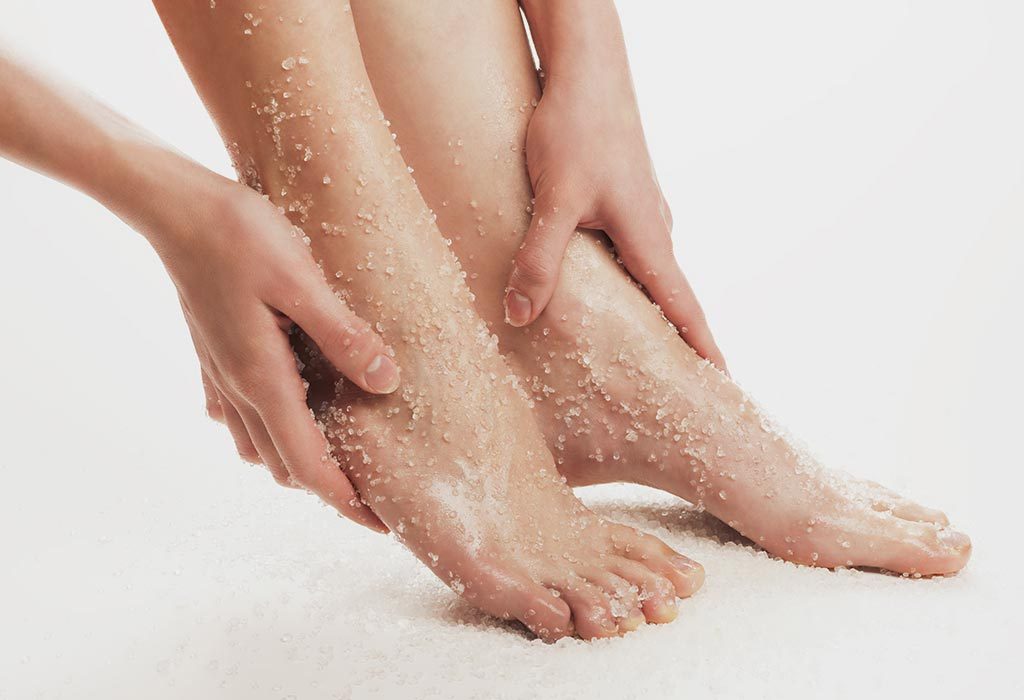
8. Make Feet Scrub
While soaking the feet you can do the scrubbing and exfoliating them. It will additionally soften the hard skin and help you quicker and easier to remove it. The softened and nourished skin will less be exposed to foot cracks, especially in cold and dry temperatures. Use a scrub or exfoliator and gently massage the feet, especially the areas between the toes and the calluses in your heels. Use a loofah or a stone will speed the process of removing dead skin.
9. Moisturize And Massage
via fashiongoalz.com
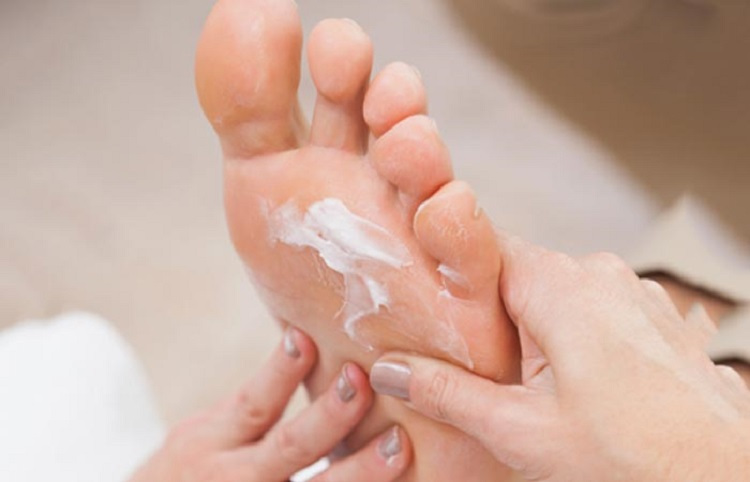
Moisturizing your feet is an everyday step. You can do it before bed, after the shower, just make sure they are clean before applying the foot cream. Moisturizing the feet will prevent you from having dry skin which leads to foot cracks and peeling. While applying your cream or lotion, make sure to focus on the back of your foot mainly rather than between toes (toes are the area where fungi grow most). Massage your feet and gently press your fingers around the heels and the soles.
10. Polish, And You Are Done!

via lesalon.com
The last step of your home pedicure is applying nail polish. Choose the color you like (always looks better if the toenails and the fingernails varnish is matching); apply it, and let it dry before you start doing any activities. Once all is done try applying cuticle oil, it will help you have a better pedicure appearance and support the health of both cuticles and nails.

