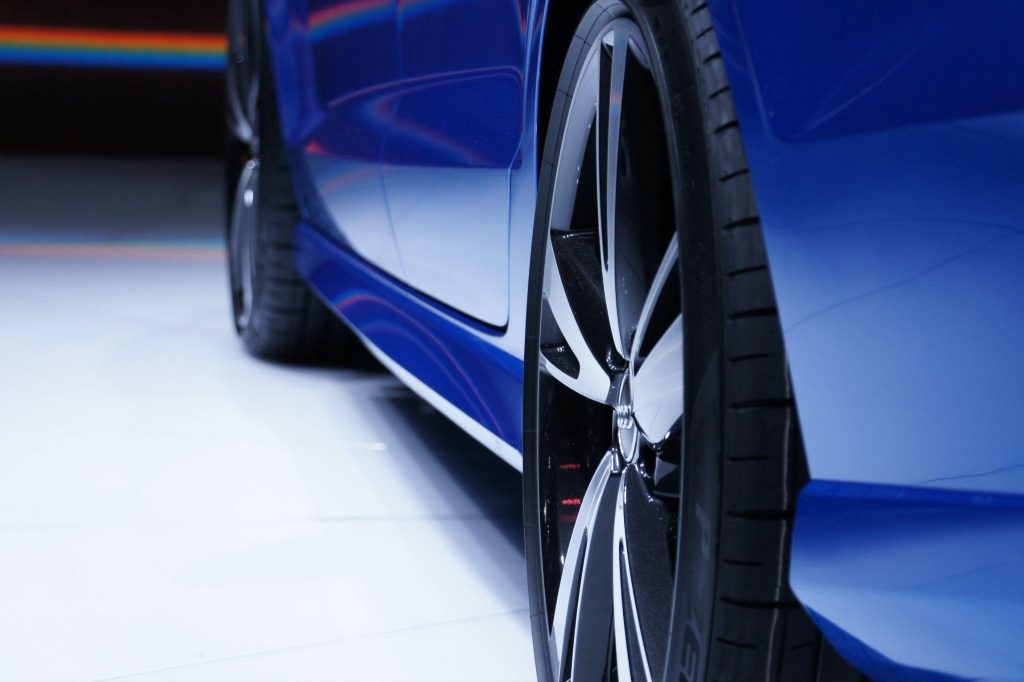
Do you ever gaze at your car and wish you could erase those nicks and scratches and restore its original allure? The good news is, with some Benz, BMW, or Jeep touch-up paint (or any car brand you may have) and automotive surface restoration, having a car that looks brand-new is possible.

Understanding Touch-Up Paint
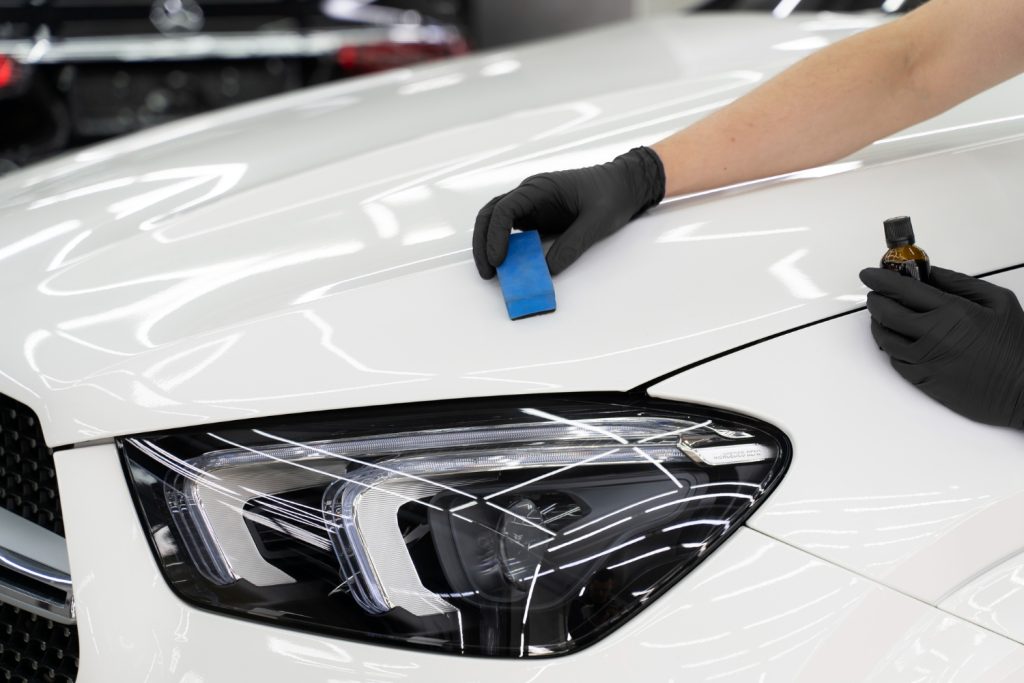
Touch-up paint is the secret sauce for restoring your car’s charm. It’s a specially formulated paint designed to patch up those pesky scratches and imperfections that steal your car’s sparkle. Available in various forms like paint pens, spray cans, or bottled paint, it acts as an artist’s brush, ready to bring life back to your vehicle.
Types of Touch-Up Paint
Each type of touch-up paint serves a purpose. Paint pens offer precision for small chips, while spray cans work better for larger areas. Bottled paint provides versatility for various applications, giving you options to match your needs.
Choosing the Right Paint
Manufacturers often provide color codes to help you find the exact match for your car’s paint. Most cars have a vehicle information sticker that lists the VIN, paint color code, and more. This is usually located on the driver’s side or the inside of the driver’s side door jamb. Some contain both numbers and letters preceded by “EXT PNT.”
Tools of the Trade
When it comes to transforming your car’s appearance, having the right tools at your disposal is key.
Essential Equipment
Gather your brushes, sandpaper, and cleaners. These tools form the backbone of your car’s touch-up. Brushes come in various sizes for different applications, from angled brushes to fine-tipped ones, while sandpaper smoothens the surface before painting. Surface cleaners, specifically formulated to remove dirt, grease, and contaminants, ensure a pristine canvas for your touch-up work.
Safety Measures
Always prioritize safety before any project. Equip yourself with protective gear: gloves, goggles, and a mask to shield against fumes, especially when you’re working with spray cans. Also, prepare your workspace—well-ventilated and free from clutter—to ensure a safe and comfortable environment for your project.
Additional Aids
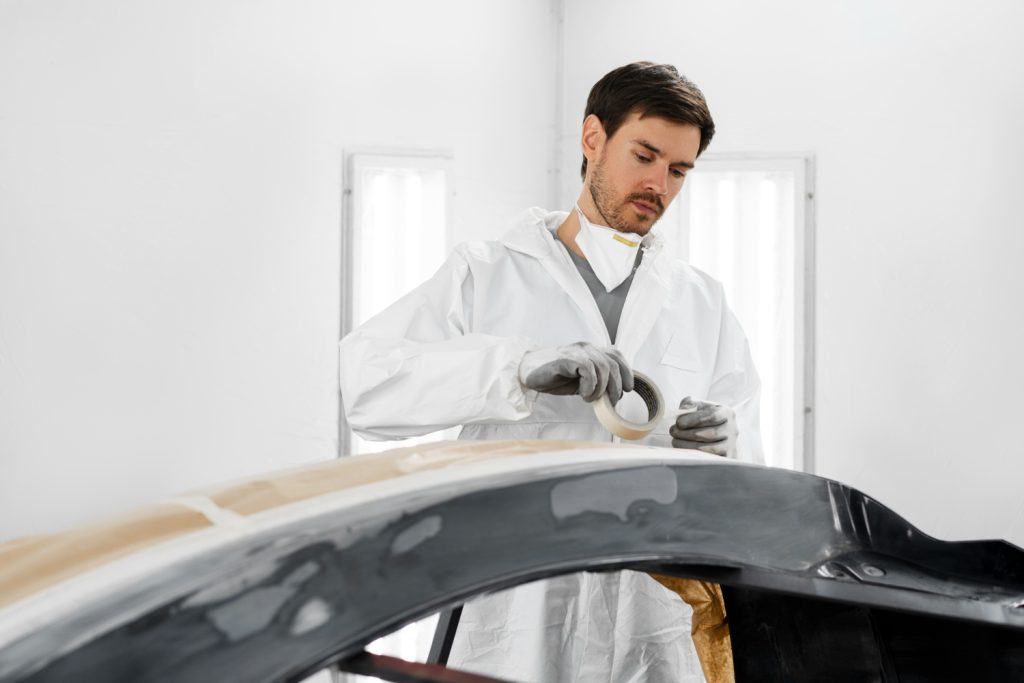
Tape becomes your ally in masking off areas you don’t want to paint. When using tape to mask areas during car painting, opt for automotive-grade masking tape. It sticks well and won’t damage your car’s paint. Use it for detailed work, like pinstriping, but avoid covering large areas. Apply carefully for clean lines and remove promptly after painting. For bigger sections, consider using plastic or paper drop cloths for protection.
Preparing for the Touch-Up

Before using the paint, setting the stage is vital to ensure a successful touch-up. This phase involves readying the surface for the paint application, ensuring a clean canvas for the touch-up process.
Surface Cleaning
Starting with a clean surface is paramount. Use a gentle cleaner to rid the area of dirt, grease, and remnants of old paint. A pristine surface allows the touch-up paint to adhere better and ensures a more polished final result.
Sanding Techniques
Smooth out rough edges and create an even surface by employing sanding techniques. Gently sand the area around the scratch or chip to level the surface, allowing the touch-up paint to blend seamlessly with the rest of the car’s bodywork.
Masking and Taping
Mask off the surrounding area around the scratch or chip with tape to protect the rest of the car’s surface from accidental paint application. This step ensures that the touch-up paint goes exactly where it’s needed without creating further blemishes.
Applying the Touch-Up Paint
Now that the canvas is prepped, it’s time to wield the pen or spray can and bring your car’s beauty back to life.
Brush vs. Spray vs. Paint Pen Application
Choose your weapon wisely! A brush offers precision for smaller areas, while a spray can cover larger sections. If you prefer a more controlled approach, the paint pen can be an excellent choice for targeted application, especially for detailed work. Begin with light, even strokes for brushes and paint pens, gradually layering the paint to achieve a seamless finish.
Techniques for Seamless Blending and Layering
Blend the touch-up paint with the surrounding area for a flawless finish. Feather the edges to avoid a noticeable paint buildup. Layer the paint in thin coats, allowing each layer to dry before applying the next. This gradual approach ensures a smooth and even application.
Tips for Precision
Don’t rush the process. Multiple thin coats are better than one thick layer. Allow each coat to dry completely before adding the next. Patience and attention to detail will reward you with a beautifully restored surface.
Perfecting the Finish
With the paint applied, it’s time to give your touch-up job that professional polish. This phase involves steps to ensure a smooth and seamless final look.
Polishing and Buffing
After the paint has dried, gently polish the area using a soft cloth or polishing compound. Buffing helps blend the new paint with the existing surface, creating a smooth transition between the repaired and untouched areas.
Applying Clear Coat
The clear coat acts as a protective layer, enhancing the paint’s durability and providing a glossy finish. Apply it evenly over the repaired area to seal and protect the touch-up paint, ensuring it stays vibrant and protected against the elements.
Final Touches
Carefully remove any tape used during the process. Take a step back and inspect your work under different lighting conditions. Admire your handiwork and make any necessary touch-ups for a flawless finish.
Common Challenges and Troubleshooting

Even with careful application, challenges can arise during touch-up paint projects. Knowing how to troubleshoot these issues ensures a smoother restoration process and a more satisfying result.
Dealing with Paint Mismatches
Mismatched paint shades can be disappointing. To address this, ensure you’ve matched the color correctly before application. If the mismatch persists, consider seeking professional advice or exploring alternative touch-up options.
You noticed the mismatch after you’ve applied your touch-up paint, one possible solution is to lightly sand the affected area and apply a translucent glaze or tinted clear coat to blend the colors more seamlessly.
Fixing Runs, Bubbles, and Uneven Finishes
Runs or bubbles in the paint can occur due to excess application. Carefully sand down the affected area and reapply the paint using lighter strokes. For uneven finishes, gentle buffing and additional coats might rectify the issue.
Addressing Weather and Drying Concerns
Weather conditions can impact drying times and paint application. Avoid painting in extreme temperatures or high humidity to prevent drying issues. Ensure adequate drying time between coats to achieve the desired finish.
Seeking Professional Help for Larger Damages
Consider professional help for extensive or complex damages, especially if you’re uncertain about handling repairs. Sometimes your car will need more than just a touch-up of its paint—some damages that are oftentimes only seen by professional repairers would need new parts, which would need specialized equipment like hot runner systems.
Conclusion
Plenty of car owners are afraid of spoiling their cars even further when they find small chips or dents. But know that the feeling of restoring your car by yourself is as much of a rewarding experience as it is seeing it back in its near-perfect state. Remember, it’s not just about the result—it’s about the satisfaction of bringing new life to your beloved wheels.
So, gear up, gather your tools, and let the transformation begin. With a dash of creativity and a sprinkle of patience, your car will soon shine like new.


