Sweet potatoes are one of the healthiest foods you can eat! They are a good source of fiber and are high in vitamin E and C and Beta Carotene – to name just a few of the nutrients. These potatoes will help you prevent heart diseases, maintain good vision, and boost the immune system.
Growing the sweet potatoes at home isn’t hard, but it requires your attention during the process. To learn more about how to do this, read more below about the basic things of growing them in your garden.
1. Variety
via godshealingplants.wordpress.com
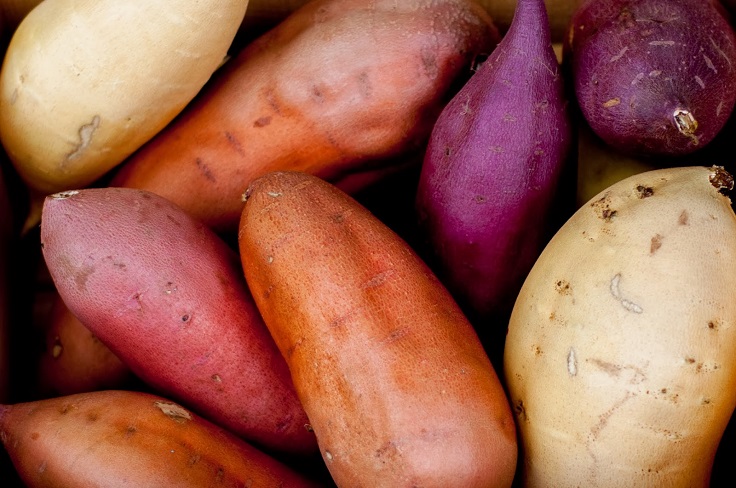
Before planting the sweet potatoes, you should inform yourself about the 16 varieties and decide which one works the best for you. The most popular type of sweet potato is the jewel that has orange flesh and copper skin. However, other varieties are worth trying as well. Another widely-used variety is the Beauregard, a red-skin cultivar ideal for baking, frying, mashing, and boiling.
2. Location
via craftingplay.com
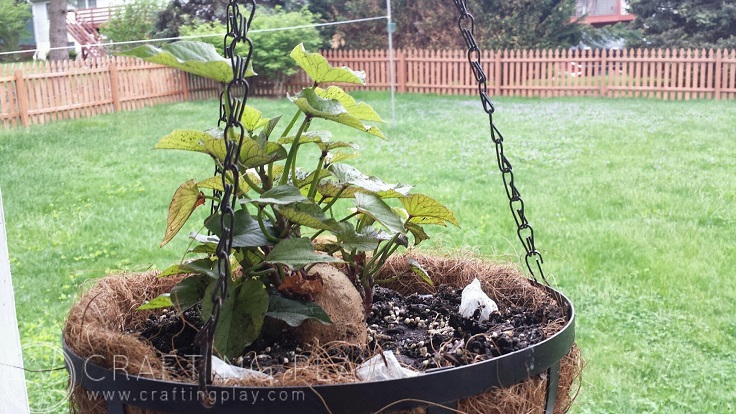
Don’t worry about the location too much! They thrive in a sunny vegetable garden, but you can also plant them in other places, such as in a container or on a trellis. If you decide to plant the sweet potatoes in a patio planter, it will reward you with foliage in the fall, and you can also harvest roots from it. However, just make sure you plant it in a full-sun location 3 to 4 weeks after the last frost!
3. Soil Type

via darlingstuff.org
Unlike many other plants, sweet potatoes like to be planted in warm soil. They require a not-so-rich soil with pH somewhere between 5.8 and 6.2, but they can tolerate a slightly acidic soil down to 5.0. They love sandy, loose soil, but whatever you choose, make sure it’s well-drained.
4. Potato Slips
via thesurvivalgardener.com
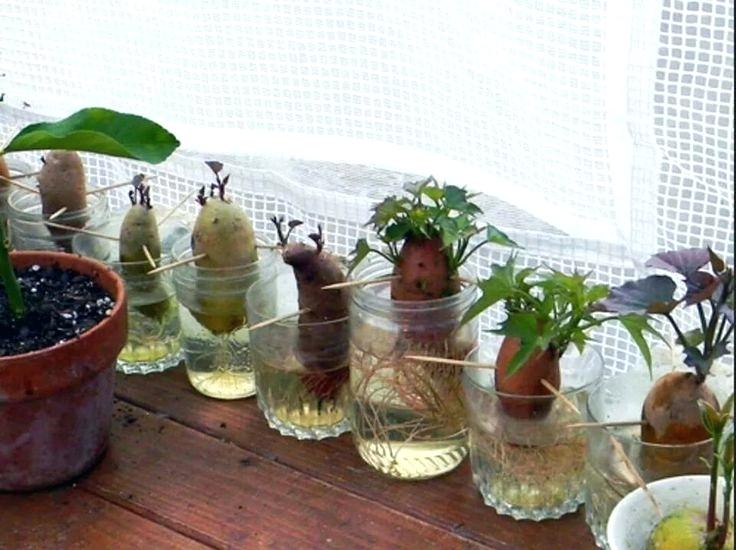
Unlike most of the vegetables that grow from seeds, sweet potatoes are started from slips. One sweet potato can produce up to 50 slips. You can either buy them or create them your own. If you go for the second option, you need to wash the potatoes well and cut them in half or large sections. Place the cut pieces in a jar or glass of water, half below and half up after you do this. Use toothpicks to hold the sweet potato in place.
5. Planting
via blodgetturbangardens.org
The slips should be planted in a hole that’s 4″ or 5″ deep and 3″ wide. The slips’ roots should be pointing down, and half of the slip should be covered in dirt, while the other one above the ground with its new leaves. Cover the hole with dirt, but carefully without bruising the potatoes, and then press them gently.
6. Mulch
via florespermaculture.blogspot.com
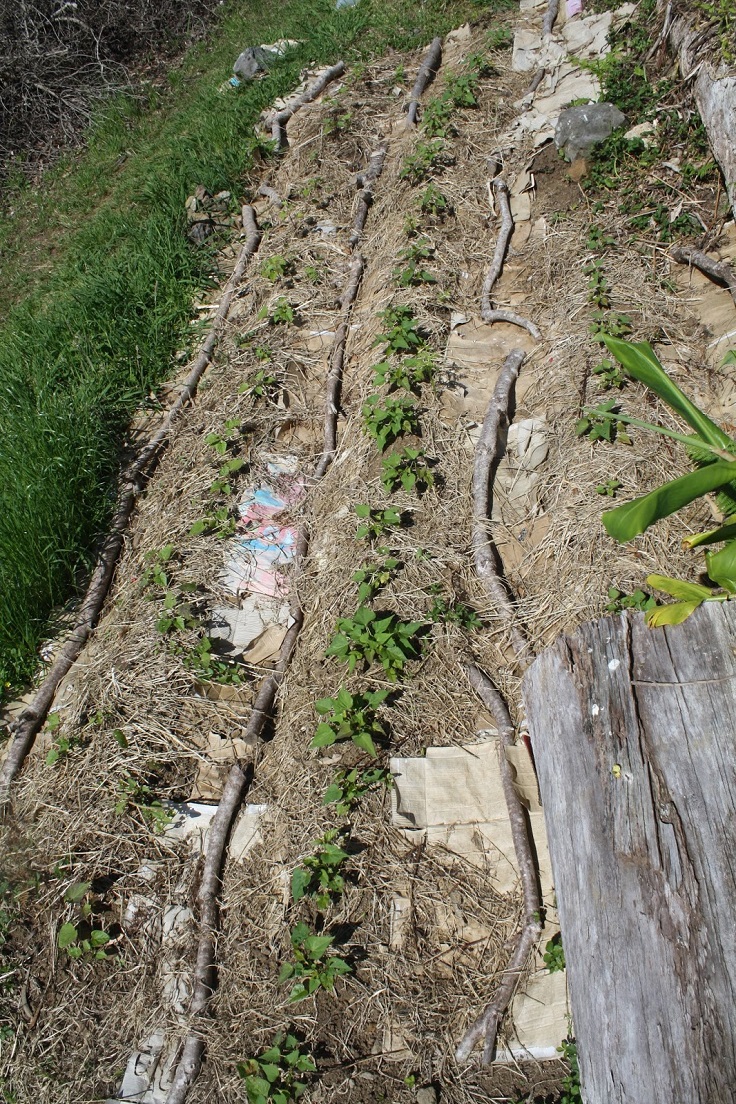
It is recommended to use black plastic for mulch because it keeps the soil warm – and this is what sweet potatoes really like! Besides this, the black plastic keeps the vines from setting more roots as they grow. You can also use organic mulch such as straw or paper, and it can also help in suppressing weeds and maintaining the soil’s moisture.
7. Watering
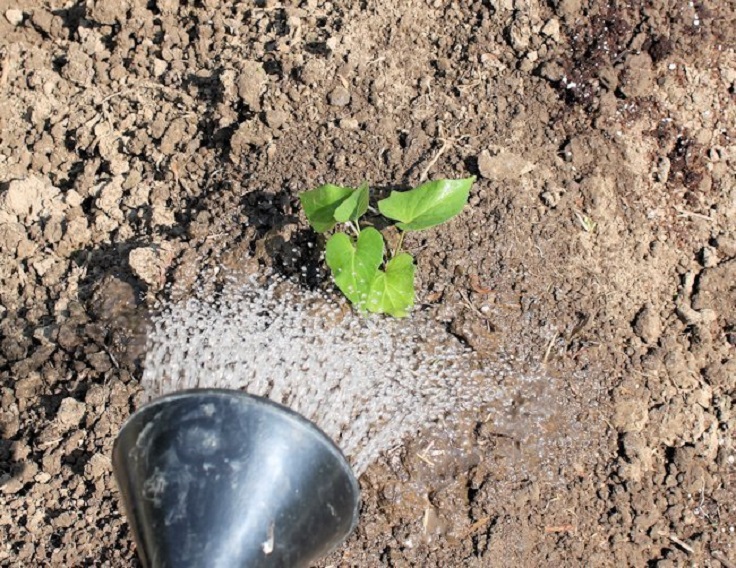
Once you plant the sweet potatoes, you need to water the slips every day for the first week and then every other the second one. Ensure all the dirt is wet, but once you notice the mounds erode, you need to stop watering them. The sweet potatoes are a little bit drought-tolerant. However, they will produce less. That’s why it’s important to schedule the watering along with the circumstances.
8. Fertilizer
via agric.wa.gov.au
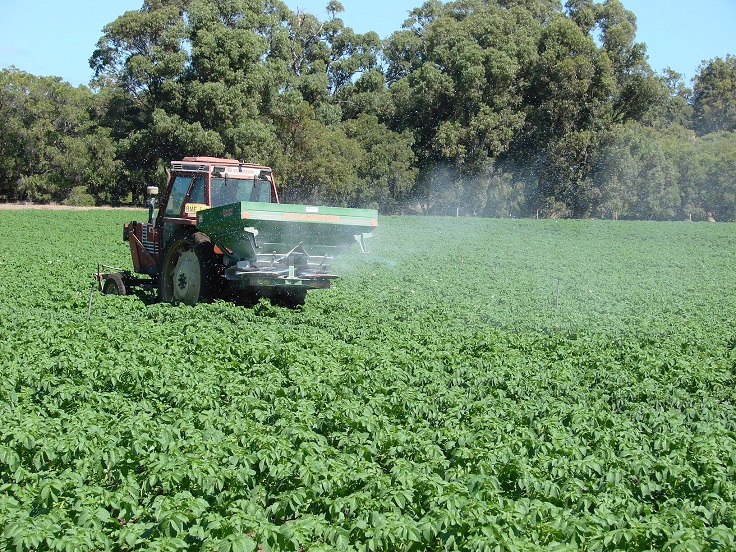
You need to apply fertilizer during 2-3 cultivations, and it can be either banded or broadcast after transplanting. It is recommended to use moderate amounts of nitrogen and phosphorus but more amount of potassium – in case of not enough potassium, the sweet potato can grow malformed.
9. Harvest
via sustainablemarketfarming.wordpress.com
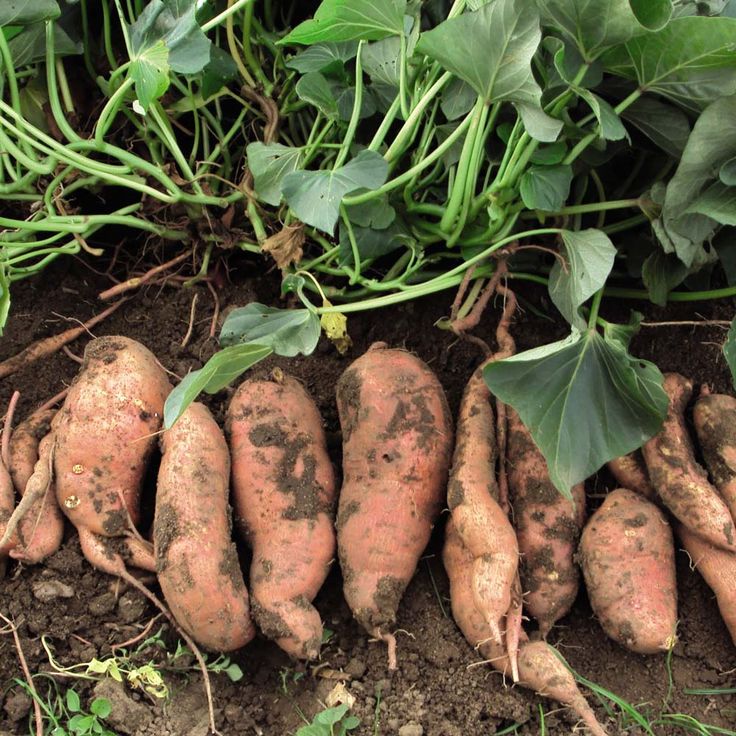
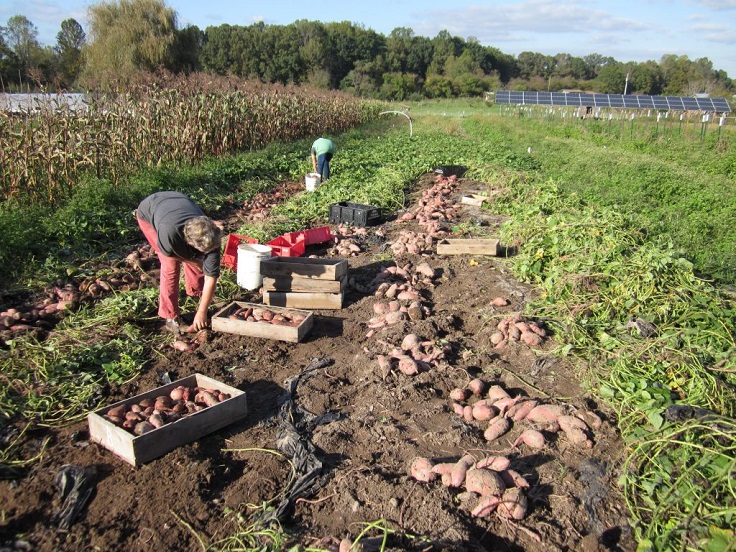
Usually, you can dig up the sweet potatoes 3-4 months after you planted the slips. By this time, they should look big enough for culinary purposes. When pulling the potatoes out of the ground, you can use a spading fork for digging, but you should be very careful not to bruise them. Pull the primary crown up, and with your hands, dig up the sweet potato. Shake off the dirt, and don’t wash the roots.
10. Post-Harvest
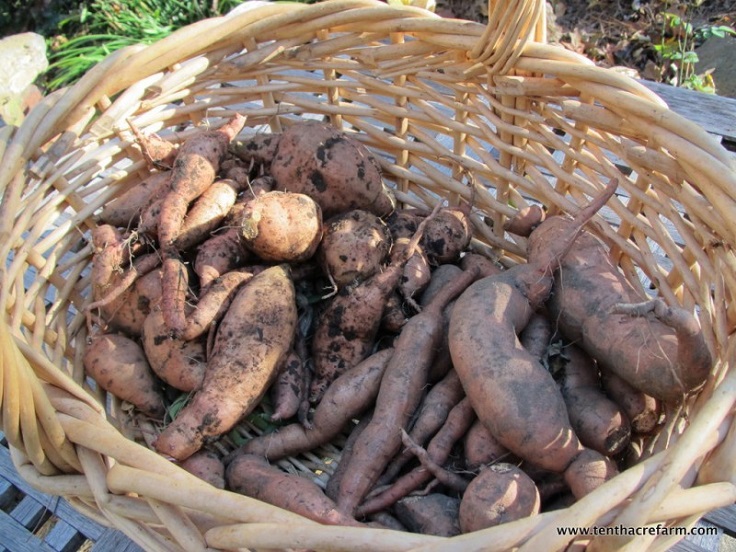
Curing is a process that has to be done so that the sweet potatoes can have their sweet taste. They have to be cured for 10-14 days, during which the roots are kept in a warm place with a temperature of about 80°F at high humidity (this should be about 90%). Curing will heal the skin damage of the harvesting by forming a second skin over the scratches. After the curing, store the sweet potatoes in a place with a temperature of at least 55°F.


