The famous Roman politician, orator, and philosopher Cicero once said: “If you have a garden and a library, you have everything you need.” Buying books and arranging them in the house isn’t a hard task, but having a garden requires your time and attention. Thus, many decide to live in apartments or simply not take care of the already existing garden.
Whether you’re this person or the opposite, you can change things a little bit this spring and try the vertical garden. Wondering how would that look like?
Check out the ten ideas presented below. Some of them are really easy and relatively cheap, while others may ask for more. Go ahead, read the rest, and be inspired!
1. Vertical Clay Pots Garden
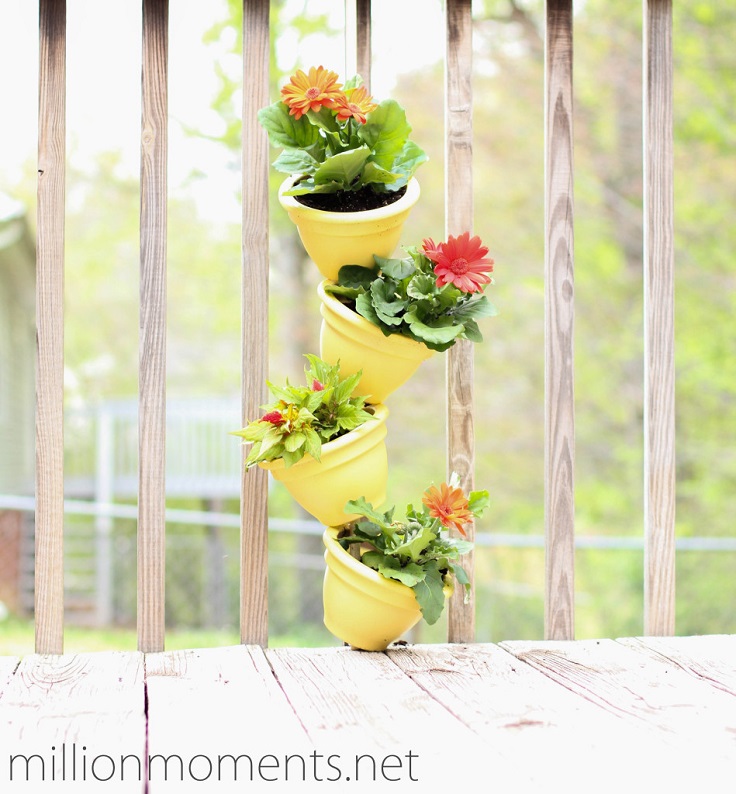
You need a wooden pole or dowel, four clay pots, 10 zip ties or more, flowers, and potting soil for this project. Start by measuring and cutting your pole to fit snugly under the deck railing. You can do this between the slats or in front of them. Tightly attach two zips to the pole at the bottom about an inch up. Place the first pot above them and make sure it touches the pole. Swivel it on the left and be careful not to let the pot slip out of its position. Add the soil and plant the flowers so that it won’t mess the order with the next pots.
To place the following pots, repeat the steps with the zips above the bottom pot.
2. Colander Garden
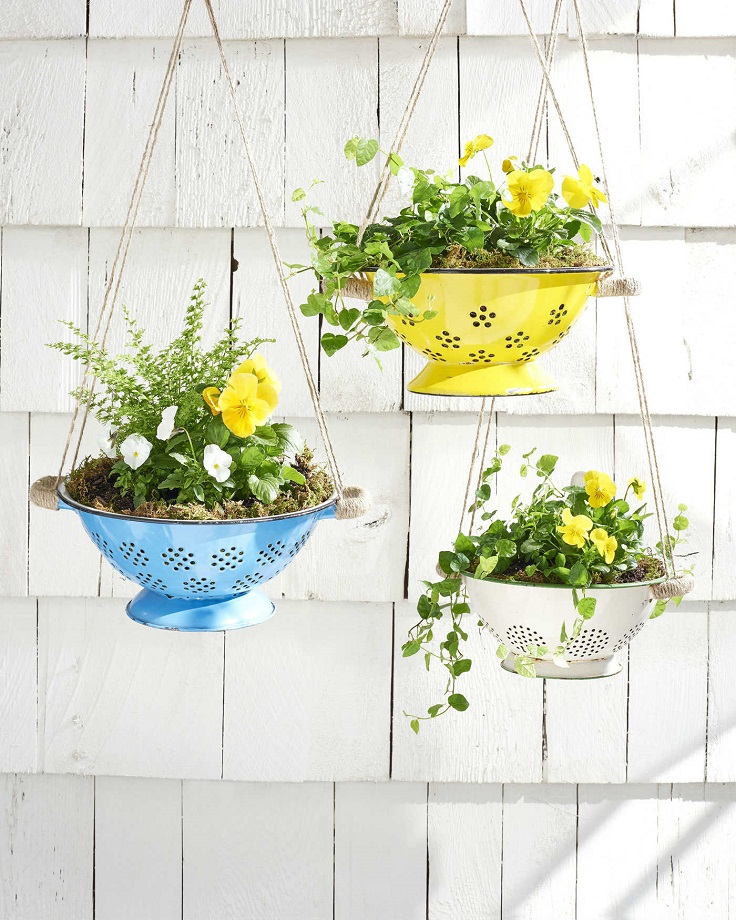
Yes, colanders have another purpose besides serving us in the kitchen! They’re quite useful in the garden as well, and they look fantastic as pots. To make your own colander pot, tie half – yard of twine around the colander handle; in the meantime making sure you cover the whole handle. When you’re done with this step, tie it off and glue it to secure it. Knot a yard of twine at each end of the handle and do the same steps with the other one. Use sheet moss for lining the colander, and then you can fill it with soil and flowers. Tie four lengths of twine together, and you’re done – the last step is hanging the colander, and voila!
3. Hanging Vertical Garden
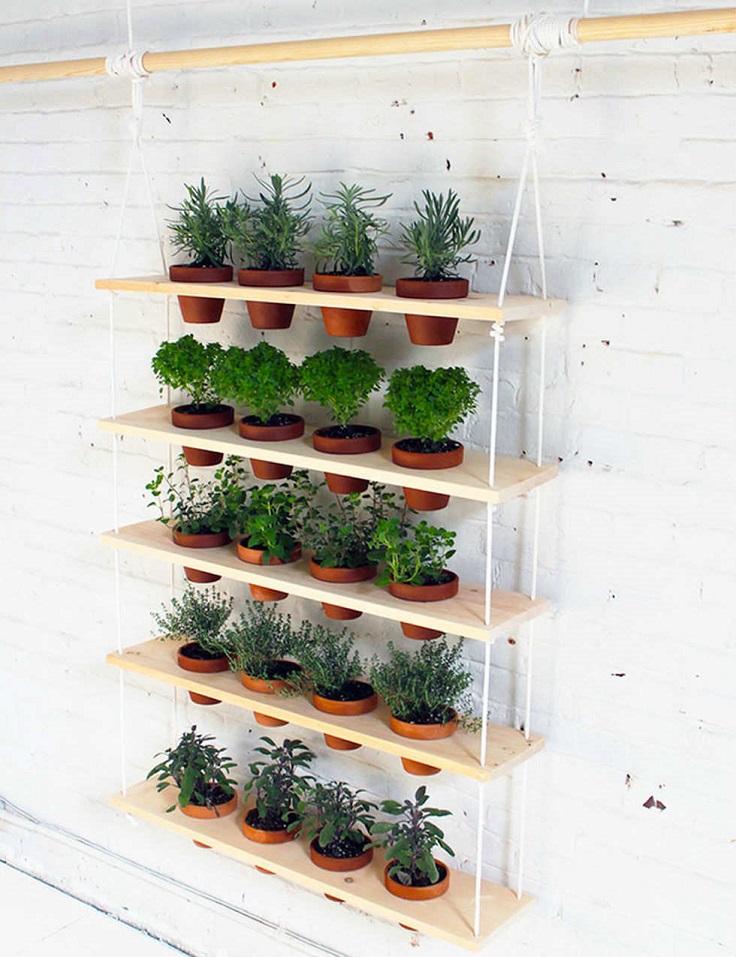
Symmetry is being present here! So all of you who like at least a little bit of symmetry here’s for you. You need 4″ to 5″ terra cotta flower pots, 3/4″ pine boards, rope, zip ties, drill, hole saws: circular saw, diagonal pliers. As you can see, this DIY project requires work with more tools, so if you are a DIY beginner or simply have never work with these before, it’s a good idea to do this with someone who already has. It may require more time and money than the rest on the list, but when you have everything done, you will be so satisfied with the results that you won’t regret anything!
4. Pallet Vertical Herb Garden
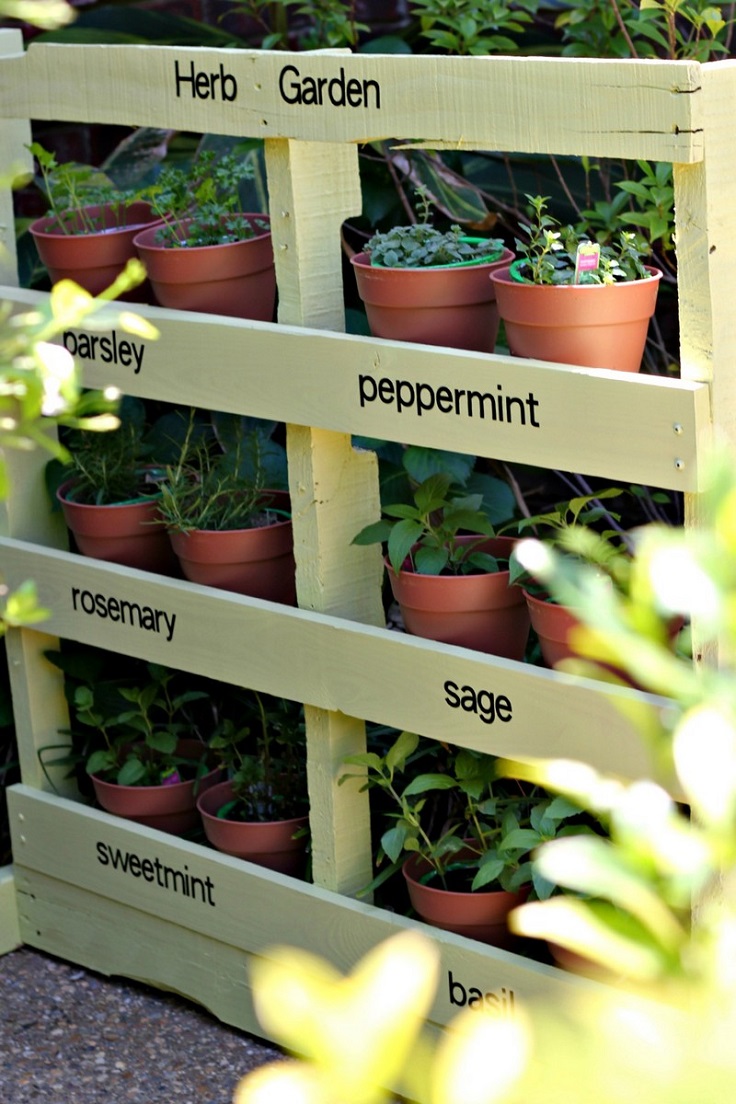
Want to grow your own herbs and plants? No problem, with a vertical garden such as this one, your wish will come true! You need the following materials and tools: used pallets, but in good condition, 1×4 boards, long screws, wood glue, paint of your choice, vinyl or stencil for labeling the herbs, Kreg jig, drill, clamps, level, paintbrush, and pallet breaker. Place the pallets to look like pictures, as some sort of a shelf. Paint the wood and let it dry. After that, place the pots with plants and write down the herb’s name below its position.
5. Easy Vertical Garden
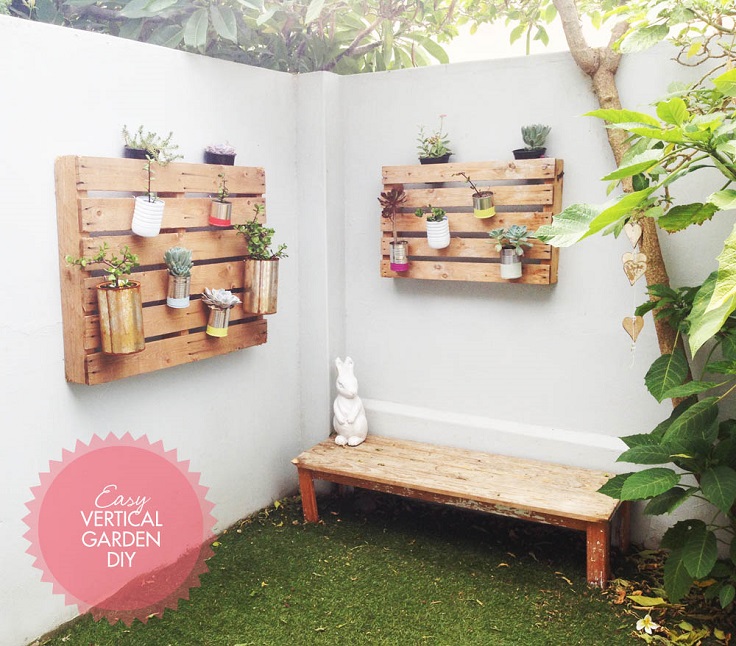
Another quite easy project, but definitely good-looking and practical. Make sure you have wooden pallets as pictures and use tin cans as your planters. Always go for reusing old stuff! Paint the cans in desired colors and use a drill to make small holes in the bottom for water drainage and on the side so that you can later hang them on the pallets. To do so, use “s” hooks and hanging hardware that will go according to your needs. Last from the steps is filling the cans with soil and flowers.
6. Stacked Planters
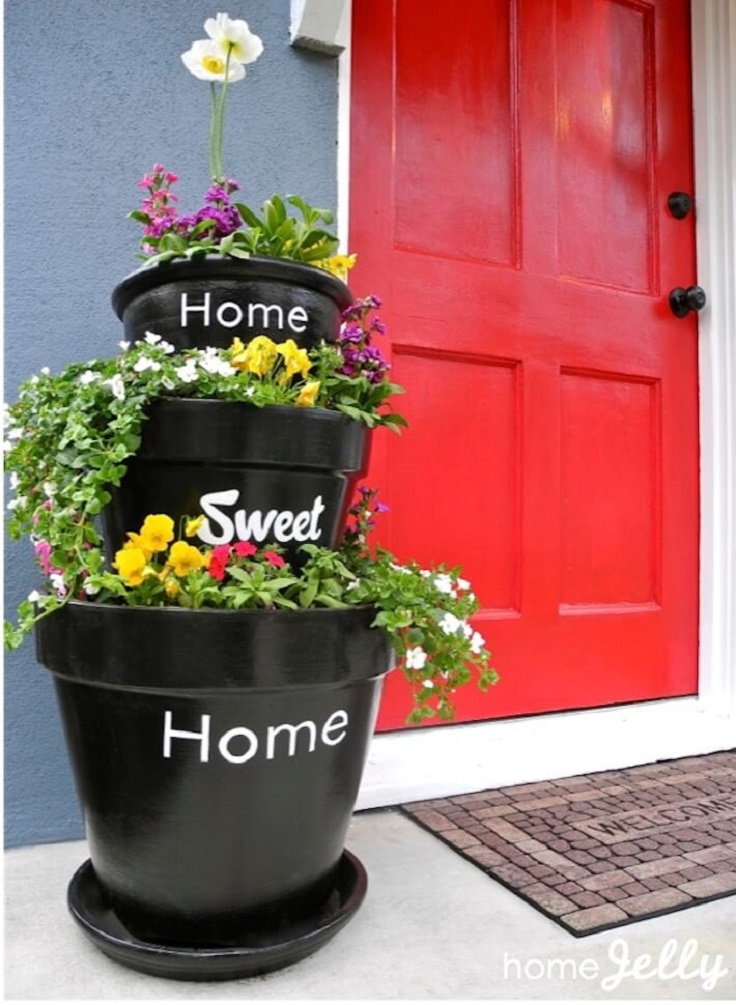
via homejelly.com
For this project, you need 3 terra cotta pots (large, medium, and small), 2 – 3 plastic pots, a tray for future water drainage, outdoor paint, 1 large and 1 small painting brush, 1 roll of painter’s tape, power drill, exacto knife, small scissors, plants, and flowers. Clean the pots, place them onto plastic pots and start painting them, but just from the outside. Let them dry, and in the meantime, prit whatever you want your pots to “say.” Use an exacto knife to cut out the letters, and use small scissors wherever you think you need them. Adhere the stencil to the pots with painter’s tape and hand – print the letters—drill a few small holes on the bottom to allow water drainage. Place the pots onto each other, with the large one on the bottom, and place each a plastic pot with the bottom of it facing upwards.
7. DIY Vertical Garden
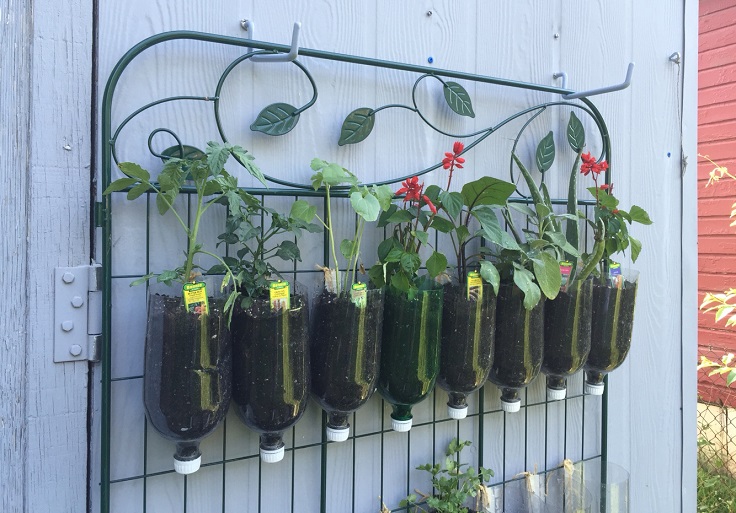
Reusing old bottles is a great idea, and using them as your planters is even greater. For this project, you’ll need 16 soda bottles and drill every bottle in the cap to allow water drainage. Wash the bottles, tore the label off, and cut their bottom, again using the drill, but this time to make two holes from the sides. Tie each bottle to a fence or wooden shipping pallet with twine, which later you can trim to make things prettier. Fill the bottles with soil and pretty plants
8. Vertical Succulent Garden
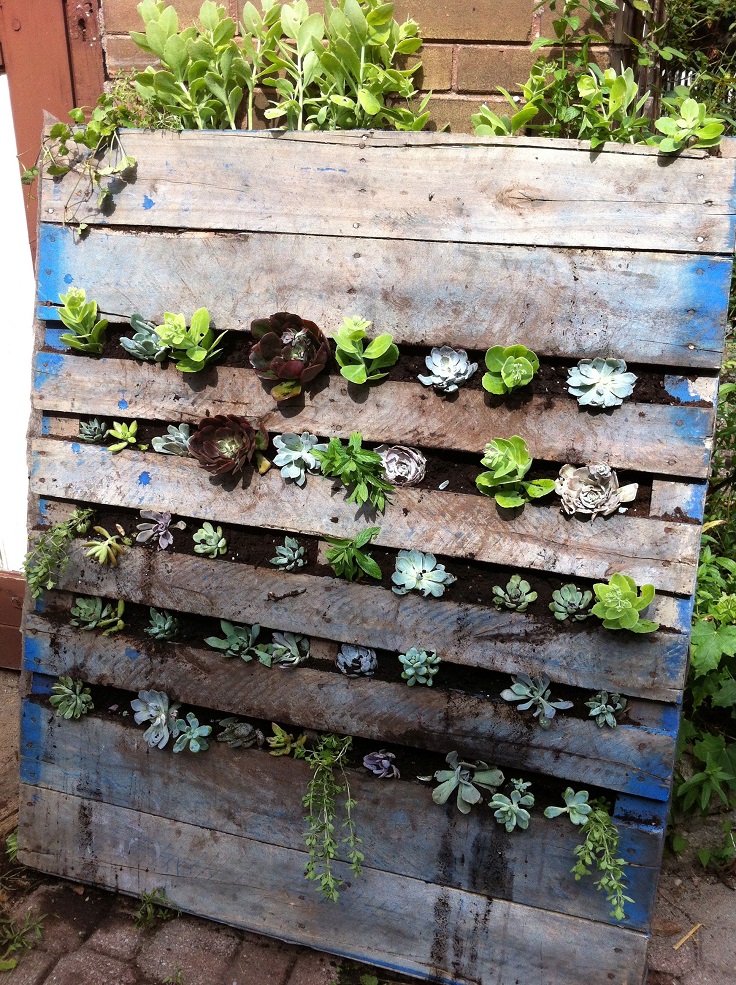
via blushandbloom.ca
Making a vertical, succulent garden has never been this easy. You need a pallet, about 4-5 4 kg bags of potting soil, landscaping fabric, staple gun, staples, scissors, and the star of the project – succulents with the same water requirements and same lightning. Flip the pallet over and lay the landscape fabric over it, making sure you cover the sides and bottom but leave your top open for watering. Leave a few inches on the sides and cut the fabric to fit the pallet. Staple all three sides, flip it over and start filling with succulents and soil.
9. Faux Leather Hanging Planters
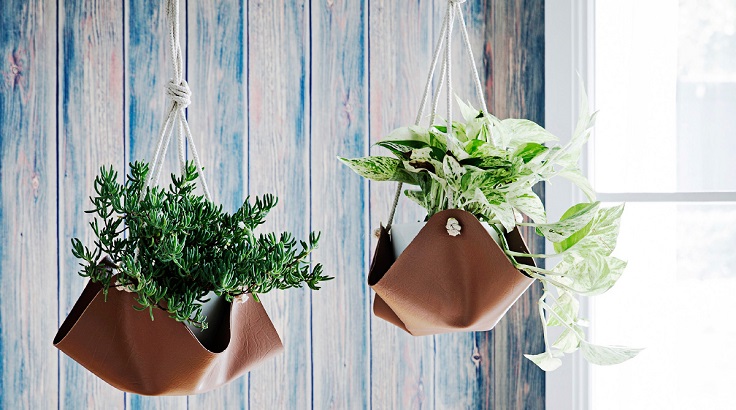
Before you start this project, make sure you have faux leather, scissors, double-sided tape, bowl or cup, utility knife, sewing machine, single hole punch, eyelet set, hammer, and rope. Start by cutting two 35 cm by 35 cm faux-leather squares and place them on the cutting mat with the non – shiny side up. Here stick four stripes of double-sided tape on each side of the leather squares. Place the second square on top of the first one, making sure the non – shiny sides touch. Cut rounded corners and sew around the edges. Punch a hole in each corner and insert eyelets. The next step is threading four even lengths of rope through each eyelet and tie the ends. Hold all four together and tie a knot halfway up. The last step is adding the soil and the plants.
10. Vertical Garden in 3 Easy Steps
via redbookmag.com
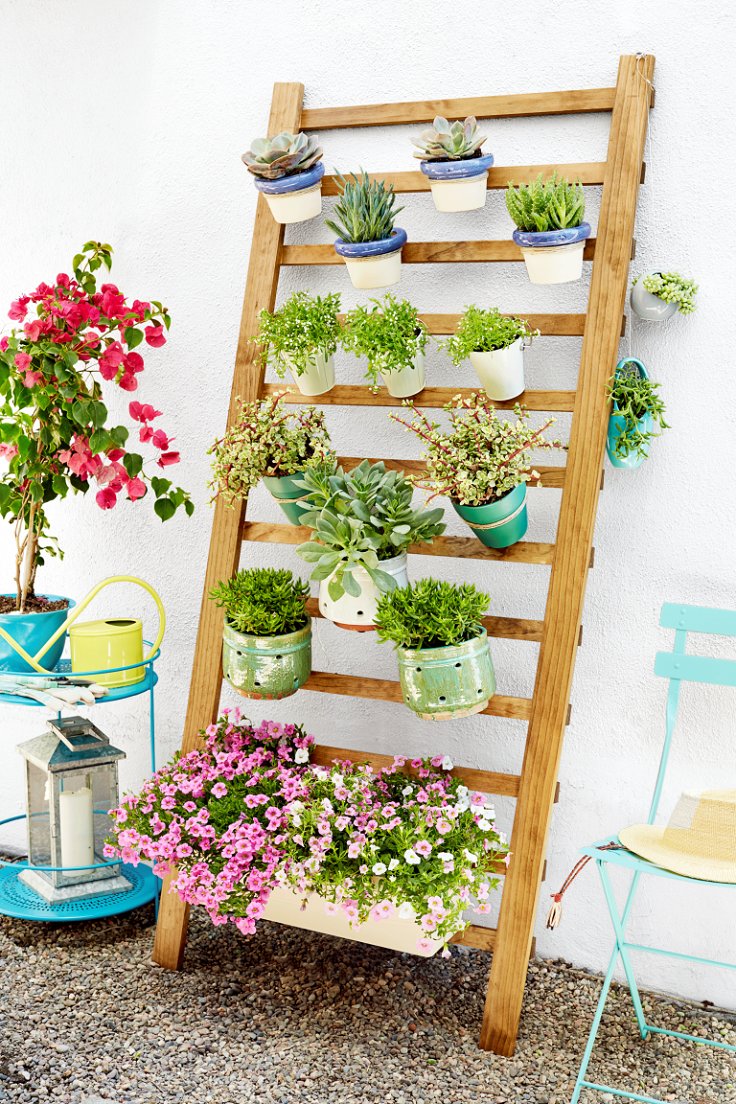
It looks super adorable, doesn’t it? You can easily have this in your garden as well. Use a premade 6-foot handrail. You can add a coat of exterior stain, or colored paint would look nice, but you can leave it like that if you wish. Choose pots with lip or pots that already have hanging hardware, and wrap a twine three times around the outside of the lip and tie a knot. Make a one-inch loop and tie it off—Hammer nails into the rugs where you want to hang the pots and hook the loops over them. If your pot is small, one nail should do the trick; if not, just hammer another nail, and that’s just basically it.


Evo me na mome zidu i sada će moji prijatelji uživati u vrtlarskim čarolijama. Hvala Vam. Vaša Teodora