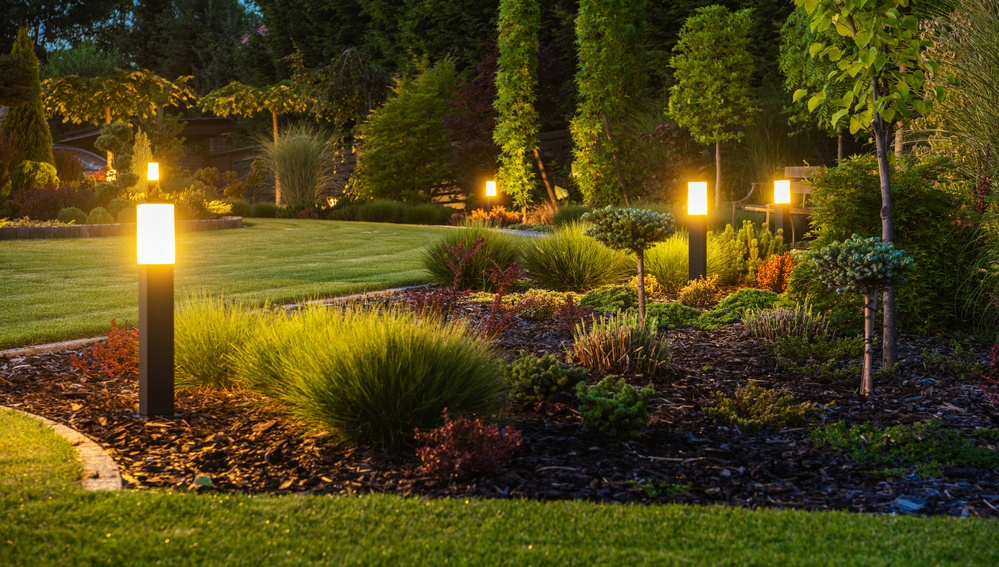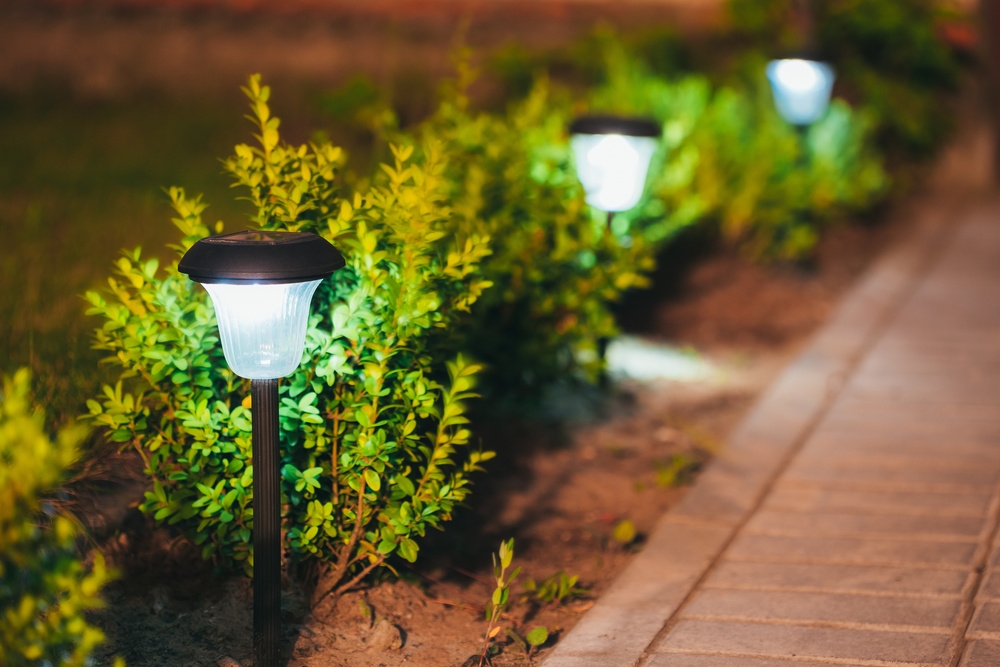
Outdoor spaces aren’t just empty spaces for your plants and grass to grow. They’re one of the best locations in your house to host parties and keep your guests entertained. And if you’re planning to host anytime soon, you may want a working outdoor lighting system.
Outdoor lighting systems can significantly enhance your home’s curb appeal and aesthetics. While installing a fancy one in your outdoor space can be pricey, they’re worth it. After all, they’re not that difficult to maintain.
Suppose you already have one and want to ensure they’re always lighting up, giving your property a majestic and fancy look. In that case, you may want to note all the steps included in the guide to maintaining an outdoor lighting system below.
Inspect Connectors And Wires
According to an Oregon outdoor lighting company, you should frequently check your outdoor lighting system’s wires and connections. As they’ll be mostly exposed outside, they’ll be prone to nicks and cuts, which pests, animals, plants, and even the weather can cause.
Often, professionals are called because a customer’s outdoor lighting system work. Most of the time, these professionals check the wires and connections first, which is the most common reason an outdoor lighting system doesn’t work. So to save you some time and money, be sure to check the connections before you call for help or prevent an accident from happening.
Other than checking if there are nicks and cuts on the wires, be sure to bury underground cables that are too exposed.
Take A Look At Your Breaker
If you’ve already inspected the wires and connectors, but the outdoor lighting system isn’t still working after the fixes you’ve applied, there might be something wrong with your breaker box.
Typically, all the wires are connected to a transformer where all electricity flows; with it, a breaker box should be present. The first thing you should check is if the switch is flipped off. However, don’t just flip it on. Perform a visual inspection first and see if there’s something wrong with the wirings in the breaker box.
If all the wires around it are okay, flip the switch on. If there’s nothing wrong with the wirings, fixtures, and power source, the switch won’t flip back and will stay on. If the outdoor lighting system doesn’t turn on after the switch is flipped, there may be an electrical short somewhere in the connections.
Since you’ve already checked the lines and connections, you may want to call an electrician or a professional to handle it. This is the same action you must take if your switch is still persistent in flipping off.
Aside from the breaker, check the timers and light sensors if you have any. Having dirty or malfunctioning light sensors or faulty timers can make your outdoor lighting system light up during the daytime or for extended amounts of time.
Usually, if the timer is off in your outdoor lighting system, you can just reset it. Typically, you can find it inside your system’s breaker. If it’s still faulty, it’s often recommended that you replace your transformer. If unsure, you might want to contact a professional to check if it’s defective or if something else is causing the problem.
Check The Fixtures

You would always want to keep your house and yard clean and tidy. So, after checking the lines and breaker box, the next step is to check the fixtures. Because of wind or some naughty kids or adults, the fixtures in your outdoor lighting system may get crooked. Checking the fixtures allows you to know which ones require to be straightened out.
If you have light fixtures in high locations, don’t forget to get a ladder. Also, work on each fixture individually, and never get your wet rag on sockets, bulbs, or wires to prevent accidents.
It’s best to check the fixtures twice: first in the evening and again the following day in the morning. Inspecting the fixtures during the night can let you know which bulbs are already busted. After all, it’s difficult to tell if a bulb isn’t working when the daylight’s too intense. And it’s convenient to do the second check the following day as you may need to make a trip to the hardware store to get a replacement.
One common issue you may encounter with the fixtures is broken glass. Don’t forget to have your protective gloves and kitchen tongs ready to safely remove the broken pieces of glass. If you want to ensure that there will be no loose glass lying around, you may want to get a broom, dustpan, or vacuum cleaner.
If you don’t have anything to replace the following day, it will be the best time to clean the fixtures. You can get a clean washcloth with a bucket full of soapy water. Just wash off the glass and brass in your fixtures to remove dust and dirt that have accumulated over time.
Remove Rust And Apply Anti Corrosion
Consistent maintenance work will prolong the corrosion rate of your fixtures. However, it doesn’t mean that it won’t happen. If you spot some rust forming, you should take care of them immediately.
There are multiple ways how you can remove rust from your fixtures. One of the simplest methods is to use a ball of steel wool to scratch out the rust. Do note that you shouldn’t apply too much pressure when brushing your fixtures with steel wool since it can also damage other parts that aren’t covered by rust.
Another method to remove rust is to use vinegar and baking soda. Let the rusted part soak in white vinegar for half an hour. After that, brush the loosened rust particles off the fixture. YOu can do the same steps with baking soda. Make a paste using baking soda and a bit of water. Leave the paste on the rusted part. Then rinse the paste, rust off, and brush the remaining rust particles.
Of course, you can take the easy route by getting a rust remover. Follow the instruction for the rust remover you’ll buy. Once the rusted spots are removed, you should finish the job by applying a coat of paint on the previously rusted parts.
You should get an anti-corrosion compound if you have some spare cash. You can apply it to the rusted parts and other exposed metals like the wires on the electric connections in your lighting system. Instead of regular paint, you may use metal primer and paint. These two are better at preventing rusting than standard paint and look better.
Remember To Clean The Lenses And Refractors
Even if the fixtures are enclosed, dirt and dust can get inside and accumulate. You may want to give the bulbs some love as well. With dry clean clothes, gently wipe off the dust on them.
Aside from cleaning the bulbs, you should clean the lenses and refractors. These two allow your bulb to shine brightly during the night. And if they accumulate dust and dirt, their brightness can quickly dim. Because of that, don’t forget to clean them.
And since you’re already cleaning, you might as well clean the posts and the top lids. After all, they’re prime locations for bird poop, cobwebs, and other debris.
Trim Off Leaves, Branches, Or Weeds
To ensure that your outdoor lighting system will shine the best with your picture-perfect landscaping, be sure that no leaves, branches, or weeds will block their light. A scissor is often enough for this task, but you may want to borrow a branch cutter if you need to deal with thick or hard-to-reach branches.
In addition to blocking lights, the plants around your fixtures may encourage insects and other pests to live in your fixtures. Bugs and other small animals may infest your fixtures, which may, in turn, potentially damage them and the lines connected to them. Once you remove these plants or other growths, you may want to spray some bug spray around and within the fixtures to ensure nothing is camping inside it, waiting for the right time to wreak havoc.
Aside from the plants growing around the fixtures, check the ones far from them. After all, some of them may block your lights if you’re going to look at your property from the curb.
Conclusion
As you read, you may have discovered that maintaining your outdoor lighting system can be a lot of work. However, don’t worry. All the things that you need to do are relatively straightforward. After maintaining your outdoor lighting system by following this short but detailed guide a couple of times, you can quickly get the hang of it.
And whenever you’re in doubt about whatever you’re doing with your outdoor lighting system, never hesitate to call an expert. Never forget that you’re dealing with electricity here. The last thing you want is to cause an accident that will cost you more than hiring a few specialists for a few hours to get your outdoor lighting system working and pretty.


