
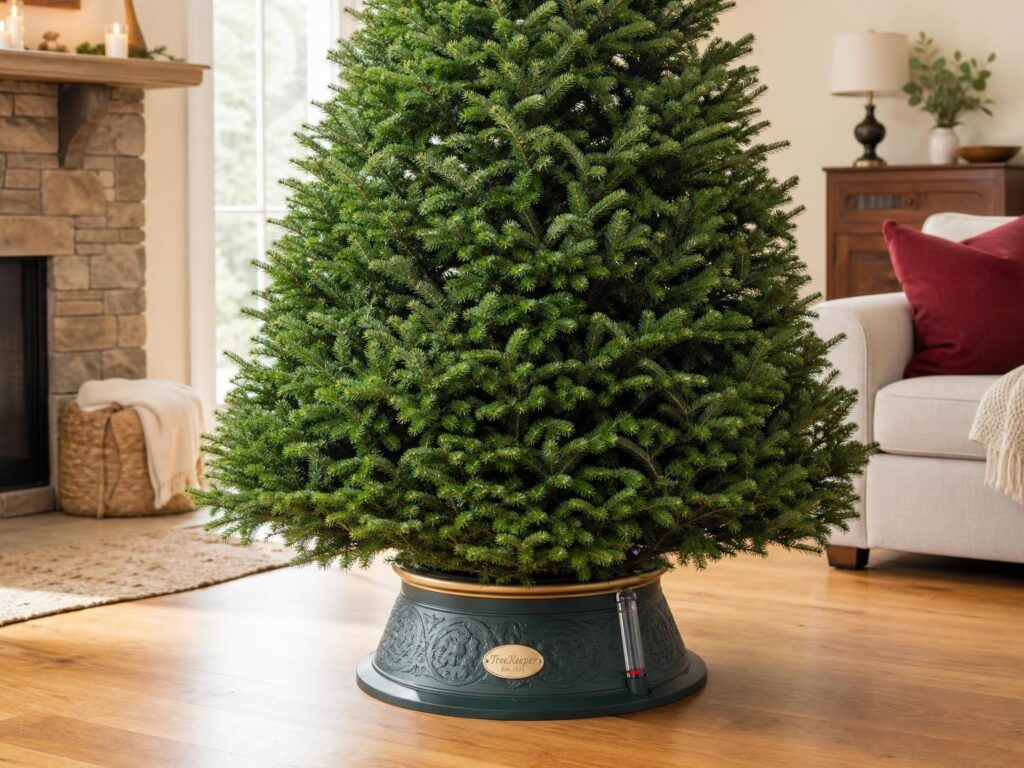
Bringing a live Christmas tree into the home is one of the season’s most enjoyable traditions, but there’s more to it than grabbing the first good-looking specimen off the lot. Choosing a fresh tree, keeping it stable, preventing it from drying out, and placing it away from hazards all take a bit of forethought. Part of that planning involves figuring out how the tree will be supported once it’s indoors; many households look into options like Christmas tree stands while also checking the tree’s freshness, measuring the available space, and mapping out a watering routine. None of these steps is particularly hard on its own, but taken together, they’re what separates a tree that stays vibrant all season from one that turns into a dry, wobbly liability.
Choose a Fresh, Suitable Tree
A recently cut, well-hydrated tree tends to hold its needles longer and poses less of a fire risk than one that’s already begun drying out. Before buying, check that the needles are firmly attached and bend rather than snap off. Give a branch a gentle tap against the ground—some shedding is normal, but heavy needle loss is a sign the tree’s been cut for a while. A trunk that feels slightly sticky with resin is another good indicator of freshness.
Since these signs can vary by species and even by seller, it’s worth asking the growers or lot staff about harvest timing rather than relying on a visual check alone. It’s also smart to think ahead about ceiling height plus the added height of the stand, the floor space you have to work with, the tree’s overall weight and shape, and whether its trunk diameter will actually fit the stand you’re planning to use.
Measure the Room Before Bringing the Tree Indoors
A little measuring ahead of time can save you from a frustrating surprise on setup day. Check the ceiling height, the width of doorways and stairways, and the floor space where the tree will eventually stand—including clearance from furniture, curtains, vents, and fireplaces. Keep in mind that both the topper and the stand add extra height, so factor those into your total measurement. It’s also worth thinking through how you’ll reach the water reservoir later without having to drag the tree out of place.
Before you buy, confirm:
– Ceiling height minus stand and topper height
– Doorway and hallway width along the carry path
– Floor space and clearance from heat sources
– Easy access to refill water
A tree that technically fits height-wise can still become a headache if its branches block a doorway or make the water reservoir nearly impossible to reach.
Prepare the Tree and Support It Correctly
Cutting about two inches off the base of the trunk right before setup exposes fresh wood that absorbs water far more readily. Resist the urge to shave or whittle down the trunk just to force it into a stand that’s too small—doing so can weaken the tree’s stability and actually hurt water uptake.
A stable base with a wide footprint, a reservoir sized appropriately for the tree, and a snug, correct fit between trunk and stand are all essential. The tightening mechanism should hold the trunk firmly without digging deeply into the wood. Always follow the stand manufacturer’s weight guidelines and setup instructions, and don’t try to wrestle a large tree into place alone—get a second pair of hands to avoid injury or a tip-over.
Keep the Tree Hydrated
Keep the reservoir filled for as long as the tree stays indoors, making sure the fresh cut at the base remains submerged at all times. Check the water level daily, especially during the first few days, when the tree tends to drink the most. There’s no solid evidence that sugar, soda, or other household additives help with water uptake, so plain water paired with consistent checking is still the most reliable approach.
If the water seems to be disappearing unusually fast, top it off and check for leaks. And if the tree suddenly stops drinking, make sure the cut end hasn’t risen above the waterline—a tree that’s dried out may need a fresh cut to start absorbing water again. One easy trick is to tie the water check to something you already do daily, like feeding the dog or starting the coffee maker.
Key Takeaway: A well-watered tree is safer and typically holds its appearance longer than a dry one.
Reduce Fire and Electrical Risks
Keep the tree at least three feet from heat sources such as fireplaces, radiators, vents, candles, and space heaters, and steer clear of doorways, high-traffic areas, and spots where pets or kids are likely to tug on branches. Rooms that run warm will dry out a tree faster, which raises the fire risk.
Before stringing up any lights, inspect the strands for frayed wires, cracked sockets, or loose connections, and toss out anything damaged rather than trying to patch it up yourself. Avoid overloading outlets, never leave candles burning unattended near the tree, and switch off the lights whenever you leave the room for the night or step out. Fire-safety groups, including the National Fire Protection Association, the Consumer Product Safety Commission, and the National Institute of Standards and Technology, consistently point to these same precautions based on years of holiday fire data.
Monitor the Tree Throughout Its Indoor Use
Make it a habit to check the water level, look for any leaning or shifting, watch for needle loss, and keep an eye on the tree’s distance from heat and the condition of lights and decorations. A tree that was perfectly stable at setup can start to lean later if the stand loosens, the floor settles, or ornaments end up unevenly distributed—hanging heavier ornaments lower on the tree helps keep things balanced. If you’ve got pets or kids running around, the occasional bump is bound to happen, so a quick stability check now and then is just good sense, not overcaution.
Know When and How to Remove the Tree
Once a tree starts looking noticeably dry or shedding heavily, it’s time to take it down—don’t leave it up simply out of habit. A dried-out tree has no business staying in the house, the garage, or propped against an exterior wall. Disposal rules vary from one community to the next, so it’s worth checking local recycling or collection guidelines ahead of time.
Removal checklist:
– Disconnect and remove all lights
– Take off ornaments and hooks
– Empty or protect the water reservoir
– Cover the tree to limit needle mess
– Follow local disposal instructions
Carrying a large tree out with a second person on hand cuts down on the risk of injury or damage to floors and furniture.
A Simple Live-Tree Care Routine
- Measure the room and access path.
- Select a fresh tree suited to the space.
- Make a fresh cut before setup.
- Secure the trunk in a correctly sized stand.
- Fill the reservoir and check it daily.
- Keep the tree away from heat and walkways.
- Inspect lights and decorations regularly.
- Remove the tree once it dries out.
Make Tree Care Part of the Decorating Plan
Enjoying a live tree safely comes down to a handful of small habits working together, not any single precaution doing all the heavy lifting. Picking a fresh tree, measuring the space beforehand, using a stable and properly fitted stand, keeping up with daily water checks, keeping the tree away from heat, inspecting the lights, and disposing of it responsibly afterward—all of it adds up to a safer, longer-lasting display. Treat setup, daily monitoring, and eventual removal as pieces of the same process rather than separate chores, and the tradition becomes a lot easier to enjoy without losing sight of the risks involved.
Common mistakes to avoid: choosing a tree too tall for the room, skipping the fresh cut, letting the reservoir run dry, placing the tree near a heat source, and continuing to use damaged lights.


