How to Make a Storyboard?
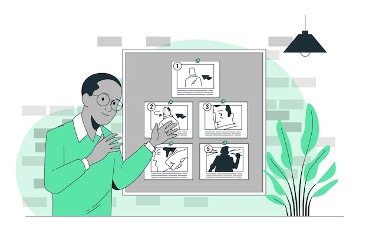
When it comes to conveying information visually, storyboarding is unparalleled. Making a storyboard gives life to what is written on the page and captures the reader’s imagination in a way that words alone cannot.
The art of digital storytelling is a potent tool for reaching a global audience. Images, characters, and scenes may all be used to give readers a more immersive and exciting story. Creating a storyboard is easier with digital tools. For example, StoryboardThat allows you to construct professional-looking storyboards in minutes, as well as to use educational poster templates, make timelines, brochures, science projects, etc.
Following are the steps to make a storyboard that will help you define your story:
1. Set a Timeline
The easiest method to structure your tale so that you can begin bringing it to life is to establish the constraints for where and when your story takes place. Then you should decide in what sequence the events in the story happen chronologically.
2. Highlight the Most Important Moments in Your Story
The purpose of a storyboard is to present an overview of the film adaptation to an audience. It is not designed to provide a faithful recreation of an event, but rather to highlight its most intriguing aspects. Plan out your plot and make a list of the important scenes you want to include in your storyboard.
3. Set Your Level of Specificity
The storyboard for a film can be highly specific, containing images for each and every scene, but most often it starts with the main ideas. There is too much territory to cover at this stage in the production process for a feature film to get into this level of detail.
However, you may eventually find that you need to split the film up into scenes with their own storyboards. This allows you to stay on top of your game by providing a visual depiction of the development of specific sequences.
4. Detail the Information that Will Be Displayed in Each Cell
Now that you have an idea of the major sequences you want to illustrate, you can start planning out how to display the action. First, you should go through your list of scenes and summarize what happens in each one. As a result, you’ll be able to better plan out the specifics of your storyboard.
5. Specify the Format You’ll Use for Your Sample
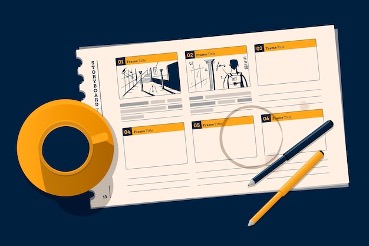
A simple storyboard template can be drawn by hand using a pencil and a straightedge to divide a poster board into empty frames of the same size. The grid should resemble that of a comic book, with rows of square cells representing the on-screen space. Digital makers would allow you to use a template for that.
6. Draw Some Thumbnails to Get Started
Bring the scenes to life by filling in the outline you made with your sketches. Remember that this is simply a preliminary draft and not the final version.
7. Thinking Through More Relevant Details
Enter your description of the scenario next to or below each cell. Think about the words that will be spoken and put them in. To that end, you can specify how long the shot will last. Finally, number the cells so that your storyboard may be easily referenced in conversation.
8. Bring the Storyboard to a Close
Review your work and make any necessary adjustments after you’ve determined the primary ideas and developed a layout for each frame. Verify that the content of each cell accurately represents the activity you intend it to show. Alter the conversations and descriptions as needed. To ensure the storyboard reads smoothly and without any ambiguity, it’s best to have a second set of eyes take a look at it.
9. Use a Three-Dimensional Point of View
A professional artist’s touch isn’t necessary, but there are some tactics you may use to make your storyboard sketches look more like movie sequences. Though not required, doing so can aid in the mental picture of the shot for your collaborators.
10. Make Sure to Have Good Character Motivation
Consider the motivations behind each shot change while you storyboard your video. To move the story along, it’s not enough to simply go from one plot point to another; the reader has to understand the motivations behind the characters’ actions. The best way to figure out how to build suspense and keep the story going while actually producing the film is to storyboard the reasons for your cuts.
11. Feel Free to Adapt Your Storyboard as You Go
If you use your storyboard while you plan your shots and direct your film, you’ll have a fantastic resource at your disposal. However, it’s possible that sticking too closely to your storyboard will limit your creativity. There will undoubtedly be shots you hadn’t considered previously that spring to mind while you work on your video. To make the filmmaking process feel more natural, it’s okay to deviate from the board or to make adjustments to it.

Wrapping Up
Whether you’re working on a short video or trying to shoot a feature film, it may be difficult to structure the project and plan it out properly. Using our simple advice, you can build a storyboard that will help you produce an awesome movie with a well-developed plot.


