A sliding door might no longer function or appear as it should after many seasons of usage. Perhaps it gets stuck frequently, or the screen is helplessly drooping. The fact of the matter is that these issues can generally be solved without significant trouble except if there is an underpinning systemic concern.
The major cause of recalcitrant sliding glass doors is dirty sliders from fragments in the track, and wrinkled panels may be simply changed. To repair your sliding door efficiently and as easily as possible, here are a few tips and instructions for you.
Check the Sliding Door First
If a sliding door isn’t functioning correctly, the rollers are frequently the cause, so make sure they are thoroughly installed on the track first.
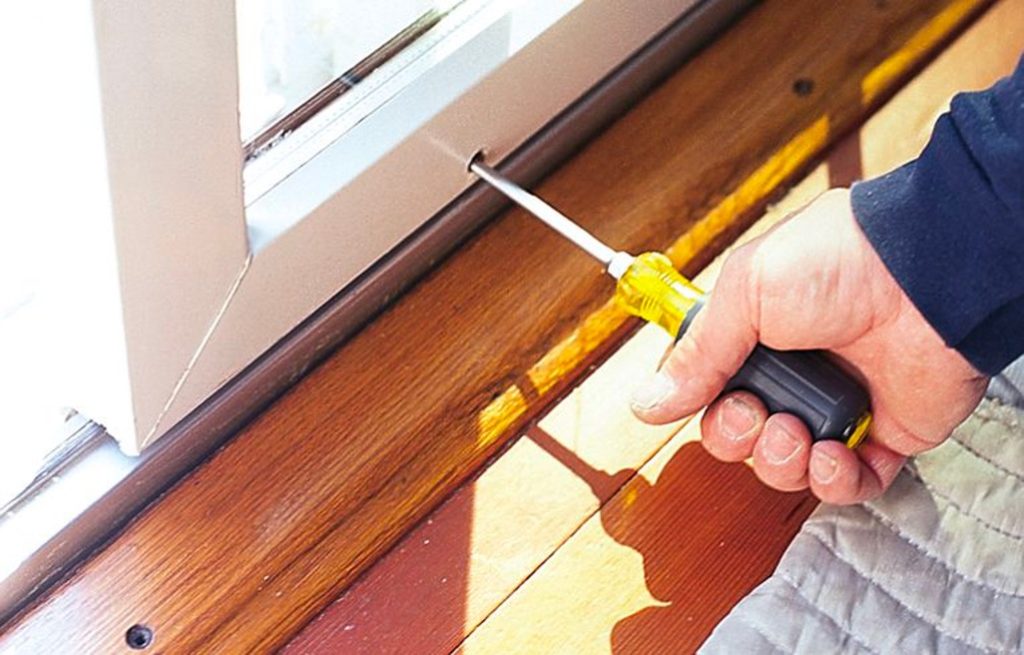
Check to see whether the fault isn’t also one of misalignment. Or call professionals who provide sliding door repair services. A roller adjustment screw is present on the underside and top-supported doors to raise or drop the door. Sometimes, in order to reach the modification screw, a cover must be removed. To lift or drop the door, unscrew the lid and spin the screw a quarter turn either clockwise or counterclockwise. Once the door is sliding seamlessly, try it again and continue the process.
A Sliding Door’s Removal Procedure
To free the bottom track of a sliding glass door, raise a bottom-supported door upward. The door can then be lifted off the track by abruptly angling the bottom of the door outwards. Sliding doors are quite weighty, so be cautious enough while performing this task. It should be noted that a few rollers feature a detachable molding at the upper side intended to keep the door from slipping out. You will need to take off the moldings when any of them captures the door.
- Locate the screws that hold this which might be puttied or painted.
- Apply paint solvent to the screw head, use the edge of a utility blade to gently peel the paint off, and afterward loosen the screw using a screwdriver or a cordless drill.
- Meanwhile, the sliders on a top-hung door could be removed from the track by lifting it upward and thereafter angling it.
- Prior to actually lifting the door away, you might need to line up the sliders’ gaps on the track.
After doing these preliminary procedures, the following steps to repair your sliding door should be done.
Step 1 – Inspect the Wheels and the Roller Assemblies
Carefully pull every roller out of its slot in the bottom of the door using a flathead screwdriver. When they are deformed or damaged, swap them with newer roller assemblies. Wipe the wheels of any debris with a scraper, and subsequently, rinse them off with denatured alcohol. Use silicone spray to grease the wheels because it won’t trap dust and debris.
Fitting every roller’s adjustment screw with its corresponding entry slot, you can reconfigure the sliders by striking the assembly with a hammer. A wooden block can be used to shield the wheels. Rescind the rollers as far as they will go after being positioned.
Step 2 – Clean the tracks and lubricate if afterward
Apply silicone on the exterior edge of the head stop that was dismantled and the head track after cleaning them with alcohol. The bottom track should be vacuumed of unwanted tiny dirt before being properly cleaned with alcohol. Brush a chunk of paraffin wax over the bottom track for a couple of minutes if silicone lubrication is insufficient.
Step 3 – Repair or replace deteriorated weather-stripping
Substitute any damaged or ripped weather-stripping in which the movable and permanent doors meet by first loosening its screws with a flathead screwdriver, grabbing one edge of it, and pulling it and the screws of the door with a craft knife while delicately pushing.
Typically, the sheet on the hinge side is cemented in place. If it is broken, remove it and, being careful not to compromise the finishing, scratch the sealant remnants off with a palette knife.
The replacement weather-stripping should be placed with its flaps directly in the path specified in the directions in which the sliding panel’s structure intersects the fixed panel. Place the flanges securely along the side of the door, aligning the upper end with the head stop’s shadow line. At each of the flange’s slots, create a 1/8-inch-diameter guide opening before inserting the supplied screws. To make the two sheets connect, repeat the process on the fixed panel.
Step 4 – Fix the screen
Disconnect the screen from a drooping or wrinkling screen door before laying the door frame on level ground and tucking a 1×4 brick below each corner. To give the door’s midsection a small bend, clamp it down. Use staples or a rubber spline to fasten a replacement screen through one end of the frame. Wrap the screen sides with adhesive.
Step 5 – Door reinstallation
Reposition the door to the bottom track and raise it. You should use your body to brace the door before re-tying the head stop. Move the door to about ½ inch of the hinged jamb, and further, tweak the roller screws so that the door is level with the jamb. Modify the receiver on the wall by losing its fasteners and shifting the panel upward or downward if the latches don’t pair with its receiver there.


