If you’re a garden owner or a gardening enthusiast, you know how important it is to properly water your plants. Water is essential for the growth of plants since it serves as a carrier in the distribution of mineral nutrients and plant food as soon as the growth starts.
Also, water makes up 95 percent of the weight of all living plants and this is why water is essential for their growth and health.

In this article, we will discuss many different types of modern watering systems that you can create for your garden – with their pros and cons. Also, we will guide you step-by-step on how to make a DIY watering system for your garden.
But first – let’s check the modern watering solutions for any garden type.
Top Garden Watering Systems For Modern Gardeners
1. Outdoor Drip Irrigation System
This is an easy-to-install drip irrigation system that is hooked up to your outdoor faucet and waters your garden whenever needed. You can unhook it when it isn’t in use so that you have your outdoor water supply for other things.
2. Hand Watering Can be a Great Solution
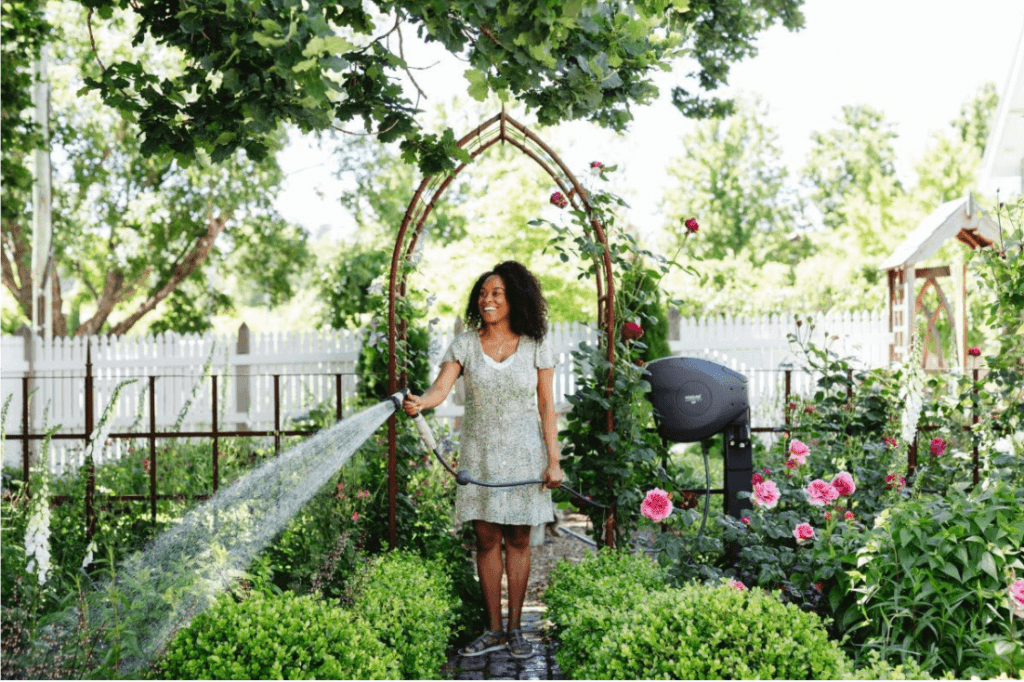
While a watering system certainly helps with turning the water on and off automatically, nothing beats hand watering your plants with a reliable and modern garden hose reel. Hand watering your plants ensures that your plants are neither under-watered nor over-watered, thereby, keeping your plants healthy and minimizing water wastage.
Also, since you water your plants daily, you get to spend more time with them and have the chance to identify plant-specific issues in a timely manner.
3. Automatic Drip Irrigation System
An automatic drip irrigation system is pretty easy to build and also gives you plenty of options with respect to the use of materials. If you have the right supplies on hand, this may not cost you anything at all.
4. You Can Use Sprinklers
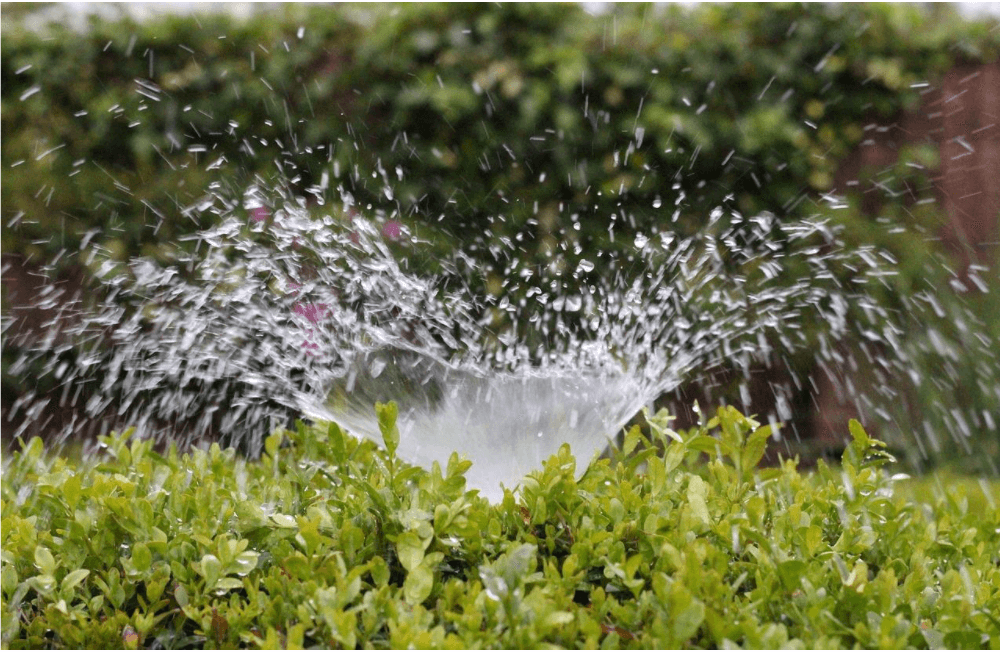
Sprinklers are easy-to-use and they are ideal for small to medium lawns and gardens. Also, they are a great fit for people that don’t have the time to water the garden regularly since you can automate the watering times. Also, they are a great fit for ideal for uniquely shaped gardens.

5. You can use Soaker or Weeper Hoses
Soaker or weeper hoses have small holes or small pores where water can slowly come out and drip directly into the soil. You can lay these hoses around your garden, in plant beds or near roots to ensure your plants are watered well and with no water wastage.
How to Make a DIY Watering System
1. Planning
Get started by measuring the parameters of your garden. This will help you determine the length of the hoses that you’ll need. After measuring the garden’s boundaries, start mapping the plants and the paths in the garden.
Once you’ve traced it entirely, you can decide the paths on which you wish to lay the pipes. Mark the places you want to lay the mainline on and the paths on which you shall be laying the feeding arms.
2. Laying the skeleton
Place the map on the ground to have a better idea of the directions. Use some chalk powder, etc, to draw the paths that need digging. Once you’ve dug enough trenches in the ground, take a bag of sand and start laying sand on the bottom of the trenches.
You can then lay the pipes on the bed of sand that you’ve laid in the trenches. Press the pipes so that they get fixed in the ground. You’re halfway through the process and have laid the skeleton of your watering system. Make sure that you’ve laid the pipes as per the diagram you made.
3. Add the essentials
Take the on/off valves that you bought from the hardware store. Fix these valves on the junction of the mainline and feeding pipes. These on/off valves will help you to control the speed and amount of water being supplied to the feeding lines and will also help you to control the force or the speed with which water is distributed to the plants.
4. Covering
Once you have connected the on/off valves to the pipeline laid in the garden, start pressing the pipe slightly to ensure that the pipeline network is on the same level.
Take the bag of sand and start laying a coat of sand on the entire pipeline network. Once the entire pipeline network has been covered in sand try to level the sand with your feet. Once the garden looks leveled you can start laying the path material on it.
5. Final check
Check the junctions of the pipeline with the water source. If you feel the need to, you can use some soaker hose cuttings to cover the junctions of the pipeline connection and secure the system against any kind of leakage.
Once you’re done with laying the watering system, switch it on and set the water timer to give a final check to the system and make sure that there is no water leakage from the junction.
And that’s it – you have a DIY watering system in five steps. But if that sounds like a lot of work you can always rely on the modern watering systems.
These kinds of systems can save your precious time and also offer you enough flexibility for customization to match your garden’s exact water needs.
Wrapping Up
While making a watering system for your garden may sound interesting and fun, it is not everyone’s cup of tea. And if not done right, your plants might not receive the right amount of water.
The only long-term solution is investing in modern garden watering solutions. Those kinds of watering systems will save you time, water wastage, and a lot of work. As we mentioned you can use sprinklers, soaker hoses, drip irrigation, and buried reservoirs.
If you like watering your plants manually, make sure you use a reliable garden hose reel with adequate length. Also, watering your plants early in the morning will give them enough time to absorb the moisture before it gets evaporated in the heat of the day.
Author’s bio:
Annie Morton is an avid nature lover from rural Australia. After some international adventures, she has settled in New York City where she currently works for Hoselink USA.


